Thinking about spray finishing the interior doors in your Belgravia home? This guide explains when spraying is worth it, how it compares with brush painting, and how to plan preparation, colour, sheen, hardware, protection, and curing time for a smooth, refined result.
The practical answer: Spray finishing interior doors is usually worth it when the doors are highly visible, well made, and part of a carefully designed Belgravia interior. Spraying creates a smoother and more consistent surface than normal brush application, especially across large panels, door faces, mouldings, and matching frames. The final quality still depends on cleaning, sanding, repair, priming, hardware removal, colour choice, and enough curing time before regular use. For a complete joinery and room finish plan, see our interior painting and decorating service.
Interior doors are easy to overlook when planning a room. Walls, fabrics, furniture, and lighting usually receive more attention at first. Yet doors are among the most visible and frequently touched elements in a home. They appear in almost every view, connect one room to another, and create repeated lines throughout hallways, bedrooms, reception rooms, and studies.
In a Belgravia home, doors may include original panelled joinery, tall double doors, glazed doors, concealed doors, wardrobe style doors, or newer bespoke pieces. When the finish is smooth and consistent, the doors help the whole interior feel calm and complete. When they are chipped, heavily brushed, yellowed, or uneven, they can weaken an otherwise refined scheme.
Spray finishing can give interior doors a cleaner, more furniture like surface. It is especially effective when several doors need to match or when strong light reveals brush texture across large flat sections. However, spraying is not automatically the right choice for every door. The condition, style, location, and expected use all need to be considered first.
This guide explains when spray finishing interior doors in a Belgravia home is worth it, how it compares with brush painting, what preparation is needed, and how to plan colour, sheen, hardware, masking, and drying time.
A single door may not appear important on its own. A home with ten or fifteen doors creates a repeating design language. Door colour, frame colour, panel detail, hardware, and sheen appear again and again as you move through the property.
Interior doors influence:
A smooth door finish can make the joinery feel more substantial. It can also make a simple door appear more carefully made. Spraying will not change the proportions or construction, but it can significantly improve how the surface is experienced.
Spraying is particularly useful on doors with large visible surfaces. Flat doors, simple panelled doors, tall double doors, and bespoke joinery can all benefit from a more even finish.
It is often worth considering when:
Spraying can be especially effective on double doors between reception rooms. These doors often remain open during the day, which means both faces, edges, and frames stay visible. A smoother finish helps them feel like part of the architecture rather than a practical barrier between rooms.
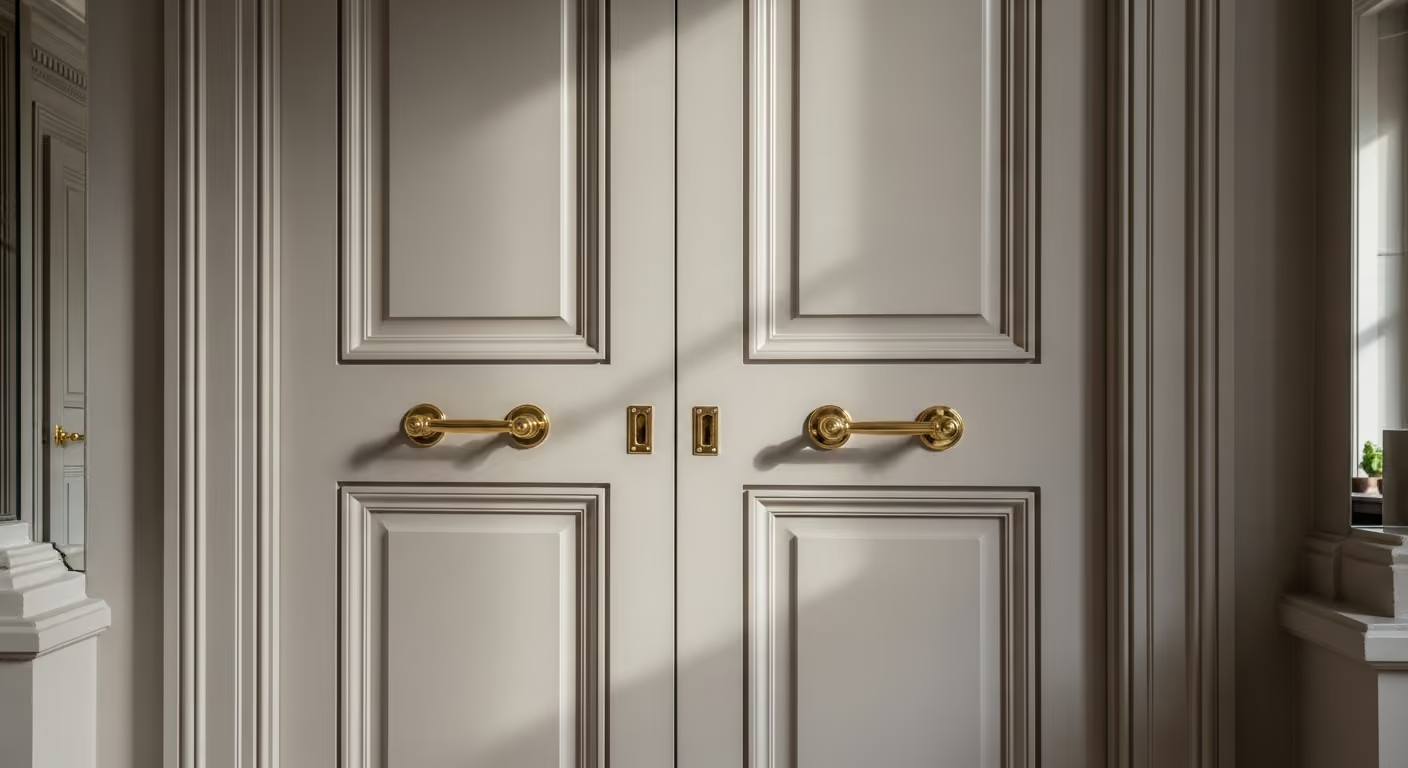
Brush painting can produce an excellent result when carried out carefully. It may be more appropriate for doors with intricate historic details, isolated areas, or projects where a traditional hand finished appearance suits the architecture.
Brush application may be suitable when:
The right decision is not simply spraying versus brushing. It is about matching the method to the door and the finish expected. Some projects may use spraying on larger door faces and careful hand application on surrounding details.
Spraying creates a smooth surface, which means defects underneath can become more obvious. Old filler, dents, heavy brush marks, open joints, damaged edges, and dust will not disappear beneath the final coat.
Before spraying, check for:
Joinery adjustments should usually happen before the final finish. There is little value in creating a beautiful sprayed surface if the door still catches, fails to close properly, or needs hardware work immediately afterwards.
Doors are touched constantly. Oils from hands collect around handles, edges, and push points. Bedroom and dressing room doors may also receive residue from beauty products. Kitchen and dining room doors can collect light grease. Hallway doors gather dust and marks from daily movement.
The surface must be cleaned properly before sanding and priming. Otherwise, contamination may affect adhesion or cause the finish to behave unevenly.
Particular attention should be given to:
A clean surface provides the correct starting point for the finer preparation stages.
Sanding is one of the most important stages in door spraying. It reduces old texture, smooths repairs, creates a key for the primer, and helps the final surface feel consistent.
Good sanding should:
Detailed doors require control. Heavy sanding can soften mouldings or damage sharp profiles. The goal is to improve the surface without removing the architectural character.

Small imperfections can become very visible under a sprayed finish. Chips around handles, dents from furniture, and old fixing holes should be repaired before priming.
This is also the correct stage to decide whether hardware will change. A new handle or lock may use different fixing points. Old holes may need filling, while new positions may need preparation.
Repairs should be:
A repair that feels smooth by hand may still show under side light. Checking the door from several angles helps identify raised edges before spraying begins.
Primer creates the link between the prepared door and the final finish. The correct product depends on whether the door is timber, MDF, previously painted, stained, varnished, or repaired in several places.
Primer may be needed to:
A poorly prepared or incorrectly primed door may look good immediately after spraying but show problems later. A fine finish needs a suitable coating system from the base onwards.
Doors can sometimes be sprayed in place, but removal often allows better access to faces, edges, hinges, and lower sections. It can also make masking and room protection easier.
Removing doors may be preferable when:
Spraying in place may be considered when:
The decision depends on the door type, access, project size, and the level of finish required.
A freshly sprayed door beside a chipped or heavily brushed frame can feel incomplete. The door leaf, frame, architrave, stop, hinges, and nearby skirting all appear within the same view.
A complete plan should decide:
Using one colour across doors, frames, and architraves can make a hallway feel calmer and more architectural. A contrasting door can also work, but the frame needs a deliberate relationship with both the door and wall.
Door colour affects the entire property because it repeats from room to room. A strong colour may look beautiful on one door but feel too dominant when used across twelve doors and frames.
Refined colour directions often include:
The colour should be tested beside the walls, flooring, skirting, metalwork, and lighting. A door sample should be large enough to show how the colour reacts across a vertical surface.

Matching doors and walls can create a calm, continuous interior. It reduces contrast and helps doorways feel less visually busy. This can work particularly well in hallways with several doors.
Matching works well when:
Contrast works well when:
A subtle contrast is often easier to live with than a dramatic one. Doors one or two tones deeper than the walls can feel tailored without dividing the interior too strongly.
Interior doors need a finish that can handle regular touching and cleaning. The sheen should also suit the style of the home.
A higher sheen can:
A lower sheen can:
The correct balance depends on the coating system, door location, colour, and desired appearance. A bedroom door may suit a softer finish than a busy hallway door, but consistency across connected areas should still be considered.
Handles, knobs, hinges, locks, finger plates, and door stops all affect the final result. New paint can make tired hardware look more obvious, so it is worth reviewing the full door before work starts.
Consider:
Hardware is usually removed before a full fine finish where practical. This allows cleaner preparation and avoids visible cut lines around handles and plates.
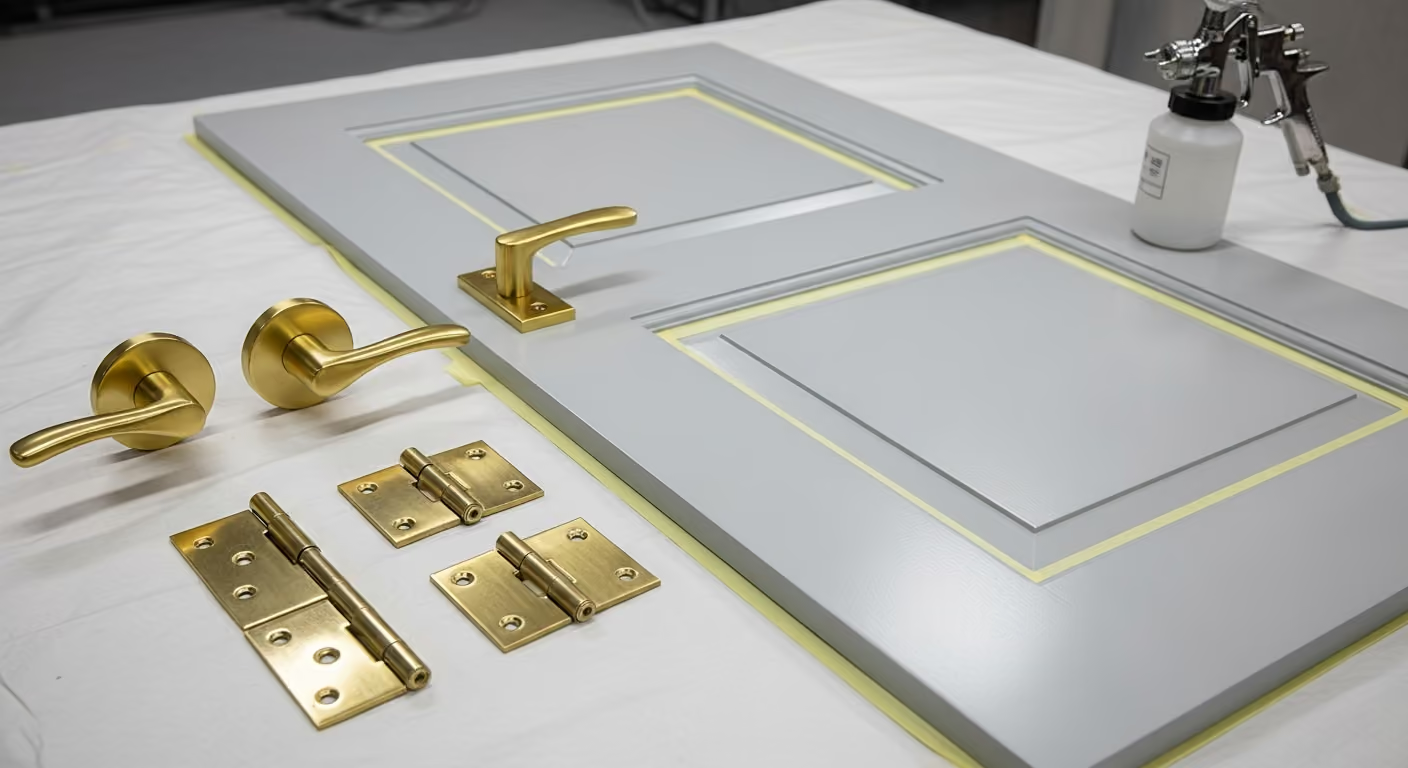
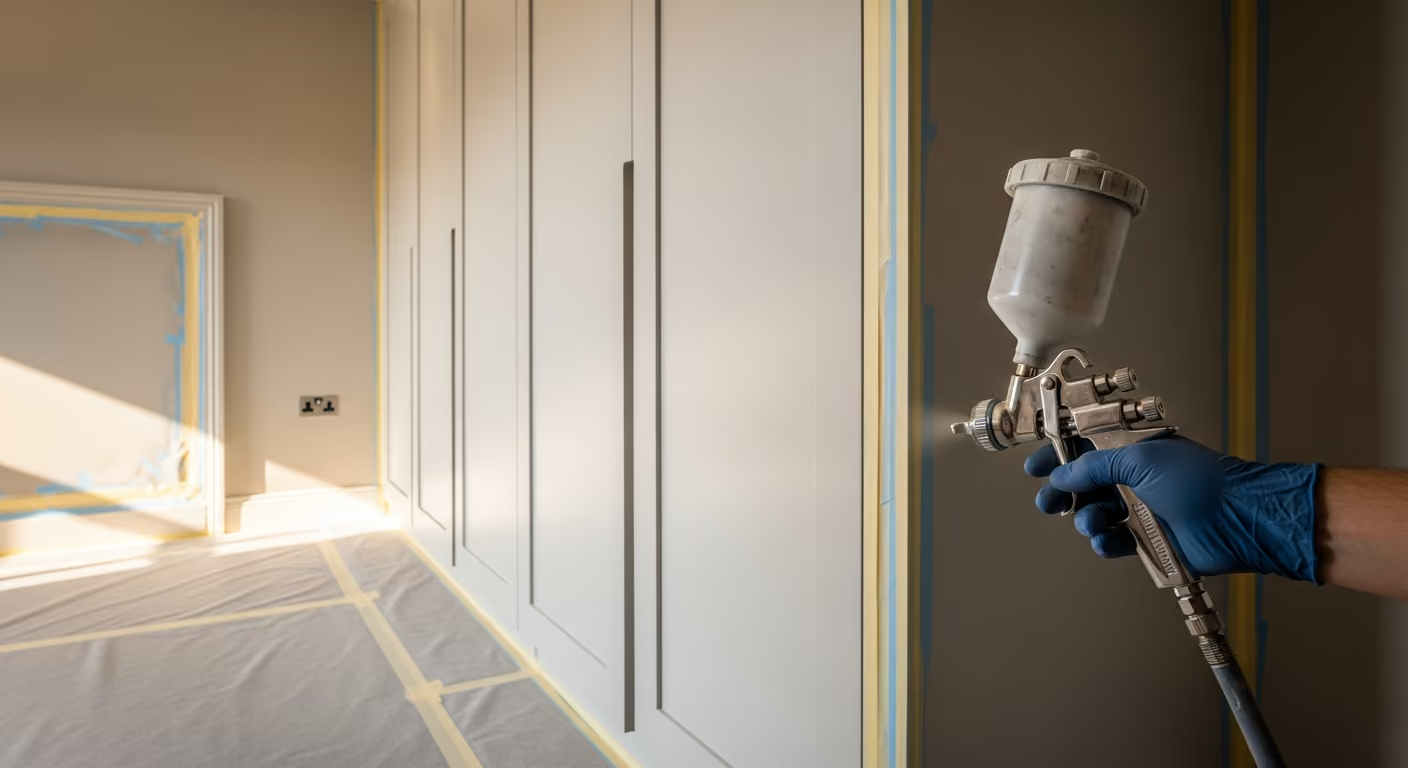
Indoor spraying requires careful control. Floors, walls, furniture, lighting, glazing, and adjoining rooms must be protected. The work area should be organised so dust and coating material do not spread through the property.
A professional setup may include:
If several doors are being removed, they should be labelled so each one returns to the correct frame. Small differences in hinge position and fit can matter.
A sprayed finish may feel dry before it is fully hardened. Doors are touched, closed, and used throughout the day, so they need enough time before normal use resumes.
The programme should allow for:
Closing a door too soon or fitting hardware against a soft coating can mark the surface. Good scheduling protects the quality created during preparation and spraying.
Door spraying is often most effective when included within a complete interior decorating plan. Walls, ceilings, skirting, architraves, shutters, and built in joinery all affect how the doors look.
A coordinated project allows:
If nearby walls use Bauwerk limewash or wallpaper, the doors can provide a smoother architectural frame. The colour should still relate to the undertones in those finishes.
The best sprayed doors do not look obviously coated. They simply look smooth, calm, and properly integrated into the interior.
Can old painted doors be spray finished? Yes, if the existing coating is stable and the door can be cleaned, sanded, repaired, and primed correctly.
Do doors need to be removed for spraying? Not always, but removal often gives better access to both faces and edges. The correct method depends on the door and project.
Will spraying hide brush marks? Only if the old texture is reduced through proper sanding and preparation. Spraying alone will not hide raised paint ridges.
Should doors and frames be the same colour? They often are, especially in calm, coordinated interiors. Contrast can also work when it is planned deliberately.
Can period panelled doors be sprayed? Yes, where the door condition and detail suit the process. Preparation must preserve the mouldings and original character.
Is a sprayed finish practical for busy doors? It can be, provided the correct coating system is used and the finish is allowed to cure properly before regular use.
We carry out spraying and fine finishes across Prime Central London, including Belgravia, Chelsea, Kensington, Notting Hill, Knightsbridge, and Westminster. Our projects include interior doors, frames, fitted wardrobes, media units, shelving, panelling, shutters, and bespoke joinery where a smooth and consistent surface improves the whole interior.
Thinking about spray finishing the interior doors in your Belgravia home? Send photographs of the doors, including panel details, frames, handles, hinges, chipped areas, and the surrounding rooms. We can assess whether spraying is the right method, advise on colour and sheen, and plan the preparation and protection needed for a smooth, refined result. To begin, request a site visit and we will arrange a time that suits you.

Tell us a few details about your project and our team will review the enquiry and come back to you within one working day.