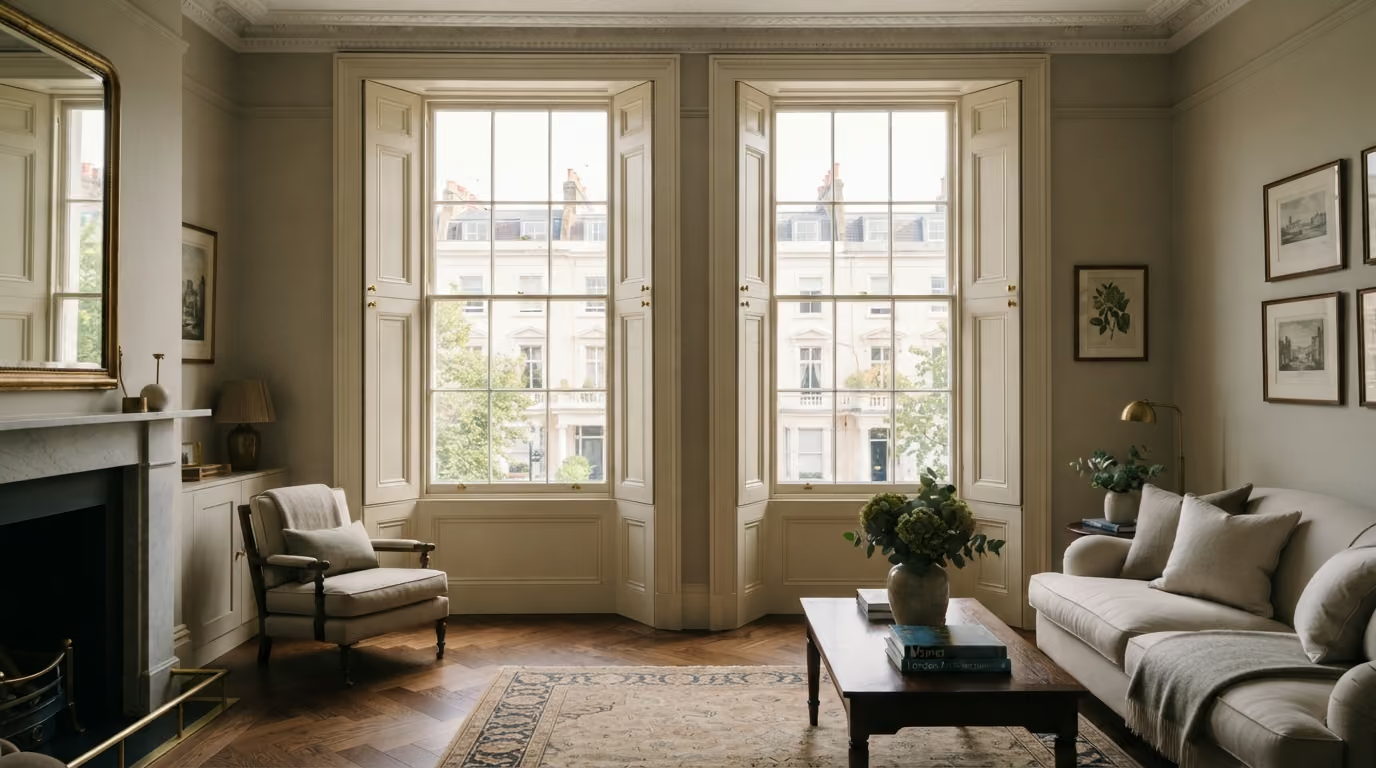
Traditional window shutters can be beautifully restored with a smooth, consistent spray finish that preserves their period character. This guide explains how to prepare old paintwork, repair damaged panels, maintain crisp mouldings, choose the right colour and sheen, and coordinate shutters with surrounding joinery and wall finishes.
The practical answer: Spray finishing can give traditional window shutters in a Chelsea home a smooth, consistent appearance while preserving the definition of their panels, mouldings, and architectural details. It is particularly useful where several shutters need to match or where years of brush painting have left an uneven finish. However, the shutters must be assessed before decoration begins. Old paint build up, damaged edges, loose hinges, sticking panels, and previous repairs can all affect the result. For specialist preparation and finishing, see our interior painting and decorating service.
Window shutters are an important architectural feature in many Chelsea period homes. They may sit within deep window reveals, fold neatly into recessed pockets, or frame tall sash windows in reception rooms, bedrooms, studies, and dining rooms.
Unlike curtains or blinds, traditional shutters form part of the room's permanent joinery. Their proportions, mouldings, hinges, and relationship with the surrounding architraves contribute to the character of the interior.
They are also highly visible. When open, the shutters frame the windows. When closed, they become large painted surfaces that can occupy a substantial part of the wall.
A poor finish is therefore difficult to disguise, particularly when daylight enters through the window and falls directly across the painted panels.
This guide explains when spray finishing is suitable for traditional window shutters, how older coatings should be prepared, what to consider before removing shutters, how to choose colour and sheen, and why correct alignment, hardware, and decorating sequence are essential to achieving a refined result.
Traditional shutters contain a combination of broad panels, narrow edges, mouldings, joints, and recessed details.
These surfaces are closely connected, which makes variations in the paint finish more noticeable.
A heavy brush mark on a flat panel may be particularly obvious when the shutter is closed. Paint build up around a moulding can soften the original architectural detail, while uneven sheen between adjacent panels can make the entire window treatment look inconsistent.
Spray finishing can help achieve:
The final result still depends on the condition of the shutters before spraying begins.
Period properties can contain several styles of internal shutters.
These may include:
Each design presents different preparation and finishing requirements.
Large flat panels benefit from particularly careful surface preparation because side light can reveal small defects.
Decorative mouldings require attention around edges and internal corners, while louvred shutters contain narrow spaces where excessive coating build up can affect their appearance or operation.
The shutter construction should therefore be assessed before deciding how the finish will be applied.
Original shutters can be a valuable feature of a period interior, particularly where they were made specifically for the window opening.
Before planning a repaint, consider:
Older shutters may need joinery adjustments or local repairs before decorating.
The objective should be to retain sound original material wherever practical rather than replacing an entire set of shutters simply because the painted surface looks tired.
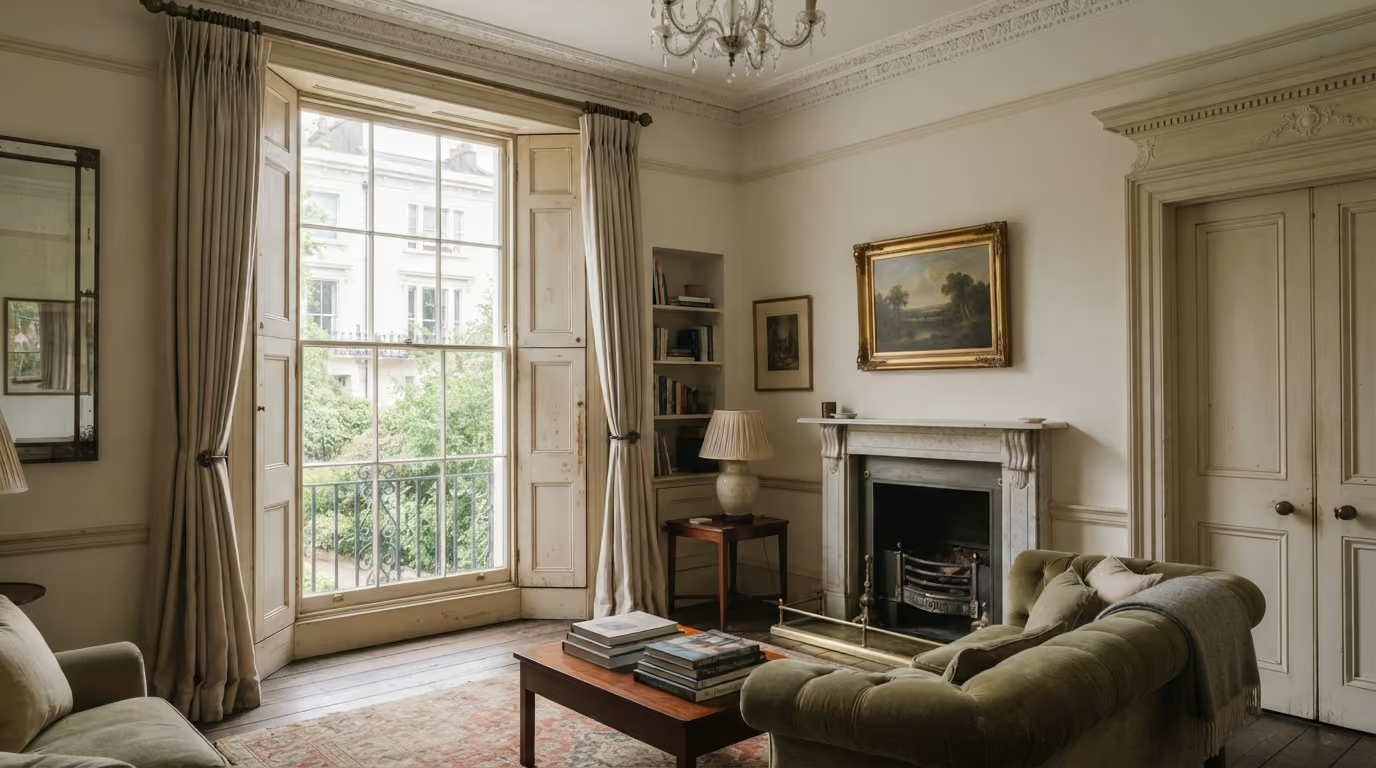
Traditional shutters may have been repainted many times over several decades.
Each new coating can gradually add thickness around panel edges, mouldings, hinges, and folding joints.
Eventually, this can cause several problems:
Applying another coat without addressing these issues can make the situation worse.
Preparation may involve reducing excessive paint build up, removing unstable coatings, and restoring clean edges where appropriate.
However, complete stripping is not automatically necessary when the existing coatings remain sound and the shutter details are still well defined.
Older period joinery may contain historic coatings that require additional care during preparation.
Where the age or composition of the existing paint is uncertain, the possibility of lead containing coatings should be considered before sanding, scraping, or removing substantial paint layers.
Appropriate assessment and safe working procedures are important, particularly in an occupied home.
This is another reason why preparation should be planned around the specific property rather than assuming every old painted shutter can be treated like recently installed MDF joinery.
Mechanical problems should be resolved before the final finish is applied.
Open and close each shutter fully.
Check whether:
Paint adds a small amount of thickness to the surface. Where clearances are already very tight, additional coatings can create problems.
A beautifully sprayed shutter that no longer closes properly is not a successful result.
Traditional shutter hardware can be an attractive part of the original joinery.
Some Chelsea interiors contain older brass, bronze, or painted iron fittings that are worth preserving.
Before decorating, check:
Where appropriate, removable hardware can be taken off and labelled before preparation.
This allows cleaner access to the painted surfaces and reduces the risk of coating decorative fittings unnecessarily.
Removing shutters can make preparation and spraying easier in certain circumstances, but it is not always the best approach.
Traditional folding shutters may have complex hinges or carefully adjusted relationships with their frames and recesses.
Removing them without planning can make reinstallation more difficult.
Off site finishing may offer advantages when:
On site finishing may be more appropriate when:
The decision should follow an inspection rather than assuming all shutters need to be removed.
Spraying produces an even application, but it does not automatically remove imperfections in the material beneath it.
Preparation may need to address:
Flat shutter panels can be particularly unforgiving because a large area is often illuminated from one side.
Small surface imperfections that appear insignificant during preparation can become much more noticeable after the final finish is applied.
One of the attractions of traditional shutters is the shadow detail created by their mouldings.
Repeated paint build up can gradually reduce this definition.
The preparation process should therefore protect the shape of the original profiles.
This is particularly important with:
The aim is a refined painted finish that allows the joinery design to remain visible rather than making the surface look heavily coated.
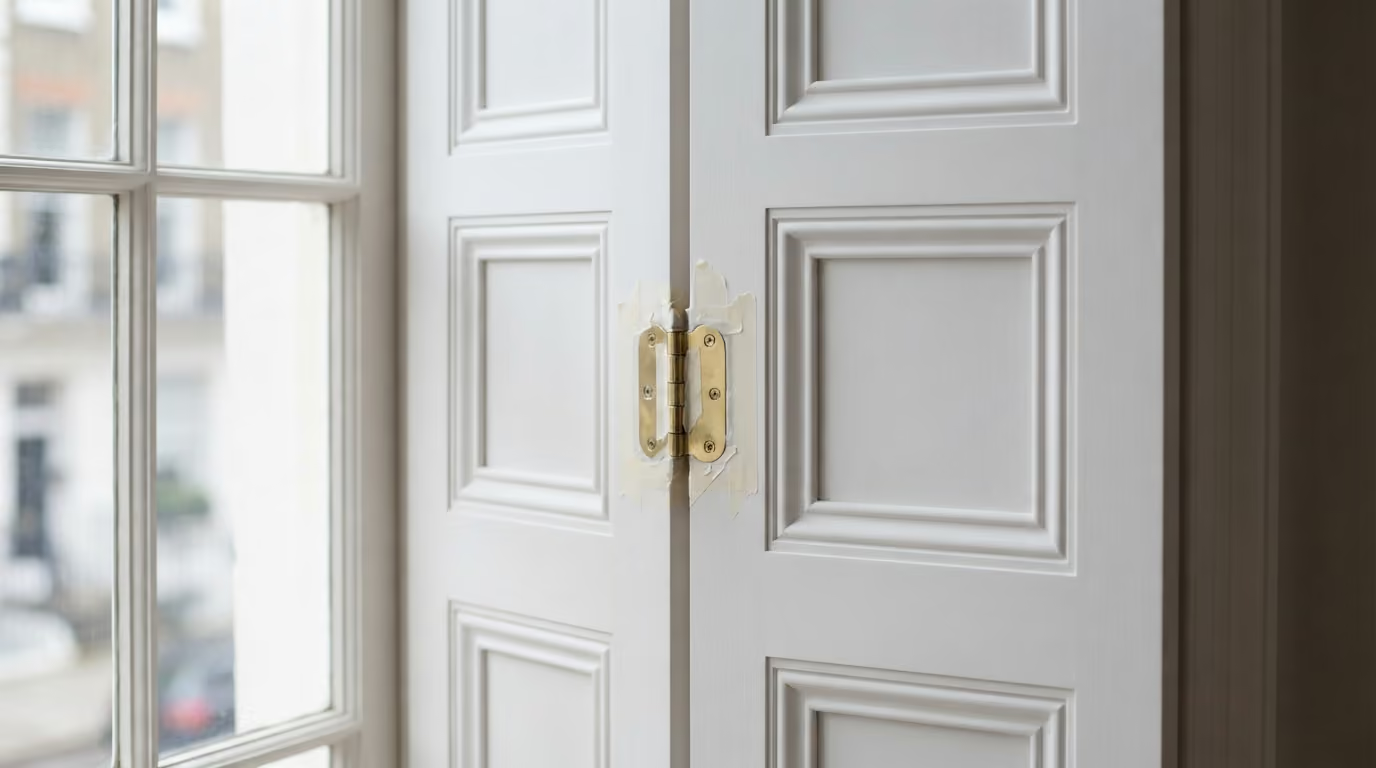
Louvred shutters have numerous narrow surfaces and spaces between slats.
Where the slats are adjustable, their movement must be considered before finishing.
Excessive coating build up can affect the gaps between components or create sticking points.
Preparation should also address dust and old paint deposits around the louvres.
The suitability of spraying will depend on the shutter construction, existing finish, and how well the different components can be accessed.
Internal shutters sit close to windows, where temperature changes and condensation may affect the surrounding joinery.
Before painting, check for:
Where moisture problems are present, their cause should be investigated before decoration.
Painting over damaged or damp timber does not resolve the underlying problem.
The appropriate sheen depends on the architecture, surface condition, and desired appearance.
Eggshell and satinwood are common directions for interior joinery.
An eggshell finish can create a softer, more restrained appearance, while satinwood provides a little more reflection and definition.
A higher sheen may suit some formal interiors, but it also makes surface irregularities more apparent.
When selecting the finish, consider:
The selected coating system should be appropriate for the joinery and the expected use of the room.
White shutters remain familiar in period London homes, but they do not always provide the most harmonious result.
Warm neutral colours can sit more comfortably beside stone, timber, wallpaper, and mineral wall finishes.
Possible colour directions include:
Deeper colours can also work where the shutters are intended to become a stronger architectural feature.
However, dark shutters may affect the perceived brightness of the room when closed, particularly in spaces with limited natural light.
Often, matching the shutters and frames creates the most cohesive result.
This can make the complete window opening read as one architectural feature.
However, they do not always need to be identical.
A slightly deeper shutter colour can introduce subtle contrast, while pale shutters beside darker window frames can emphasise the structure of the opening.
The important point is to consider both colours together.
A cool white window frame beside warm ivory shutters may create an unintended contrast, particularly in strong daylight.
The shutters are only one element of the painted joinery in the room.
They may sit beside:
Using a consistent colour can help the room feel connected.
Alternatively, the shutters can be treated as a deliberate contrast.
What matters is that the colour relationship feels intentional rather than the shutters being selected independently from everything around them.
Shutters sit directly beside the primary source of natural light.
When opened, their surfaces can receive strong side light from the glazing.
This may reveal:
A shutter that looks perfectly smooth under ceiling lighting can appear quite different in direct afternoon daylight.
The prepared surface should therefore be inspected under the lighting conditions it will experience once the room is in use.
This is an often overlooked part of choosing a shutter colour.
When the shutters are open, they sit beside daylight and the window frame.
When closed, they may occupy a large section of the wall and be seen mainly under artificial lighting.
A deep colour that looks attractive against bright glazing may make the room feel considerably darker when the shutters are closed.
Similarly, a pale warm neutral may look almost white during the day but noticeably warmer under evening lamps.
Samples should be evaluated in both conditions where practical.
Wallpaper can provide a beautiful background for painted shutters, particularly in formal reception rooms, bedrooms, and studies.
The shutter colour may:
However, the window reveal and architrave must also be considered.
Wallpaper installation should be coordinated with shutter preparation so the newly installed wallcovering is not exposed to unnecessary sanding, masking, or joinery adjustments.
For specialist wall preparation and installation, see our wallpaper service.
The contrast between smooth painted shutters and naturally varied limewash can be particularly attractive.
A warm mineral wall beside softly painted shutters can create depth without requiring a strong pattern.
Possible combinations include:
The colour samples should be viewed together because mineral walls can influence how the undertones of painted joinery appear.
If limewash is being considered for the surrounding room, see our Bauwerk limewash service.
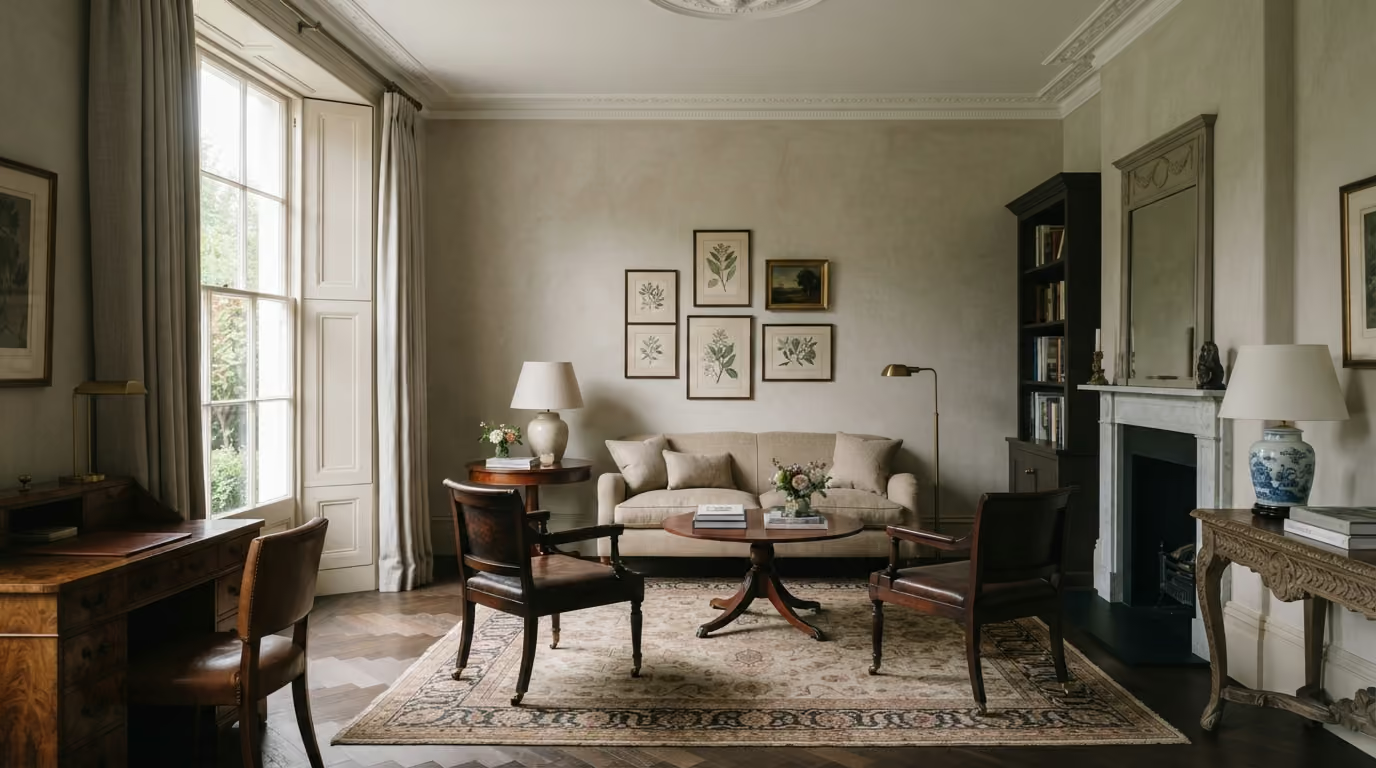
Spray finishing within a completed interior requires careful protection.
Depending on the room and application method, surfaces requiring protection may include:
Suitable containment and ventilation arrangements must also be considered as part of a professional on site spraying programme.
Protection is not a minor detail. It is essential to achieving a good finish without damaging the surrounding interior.
Freshly painted shutters may become touch dry before the coating has developed its intended level of hardness.
This distinction matters because shutters contain edges and panels that close against one another.
Closing them too early can cause surfaces to stick, mark, or transfer paint.
The required drying and curing periods depend on the selected coating system and environmental conditions.
The work programme should therefore allow suitable time before the shutters return to normal use.
Both methods can produce attractive results.
Spraying may be preferable when:
Hand painting may be preferable when:
The right choice depends on the condition of the shutters, the practical constraints of the room, and the finish the homeowner wants to achieve.
In a well designed Chelsea interior, the shutters should not feel like an isolated decorating decision.
Their colour and finish should be considered alongside the windows, walls, doors, skirting, flooring, furniture, curtains, and architectural details.
A beautifully refinished shutter may still look disconnected if its colour has been chosen without reference to the room.
The most successful result is one where the window joinery feels naturally integrated into the overall interior.
A successful shutter repaint should make the original joinery look more refined without losing the character of its panels, mouldings, and traditional construction.
Can traditional wooden shutters be spray painted? Yes. Many traditional timber shutters can be spray finished after appropriate assessment and preparation. Their condition, construction, hardware, and movement should be checked first.
Does spraying produce a smoother finish than brushing? Spraying can achieve a very smooth and consistent appearance, but the final result depends on the quality of the substrate preparation.
Do shutters need to be removed for spraying? Not always. Some shutters are better finished after careful removal, while others may be more appropriately treated in place with suitable protection.
Can old painted shutters be sprayed without stripping them completely? Often, yes. Stable existing coatings can sometimes be prepared and retained. Loose paint, excessive build up, and unstable repairs need additional attention.
What colour is best for shutters in a Chelsea period home? Soft off whites, warm neutrals, stone colours, putty, and deeper architectural shades can all work. The correct choice depends on the walls, window frames, natural light, and surrounding joinery.
Should shutters match the skirting and architraves? They often can, creating a cohesive joinery scheme. Contrasting shutters can also work when the colour relationship is planned deliberately.
Can louvred shutters be spray finished? They may be suitable, but their narrow spaces and moving components require particular care to avoid excessive coating build up.
How soon can shutters be closed after painting? This depends on the coating system and conditions. The finish needs sufficient drying and curing time so adjoining surfaces do not stick or become marked.
We carry out interior painting, decorating, and fine finishing across Prime Central London, including Chelsea, Kensington, Belgravia, Notting Hill, Knightsbridge, and Westminster. Our work includes traditional window shutters, period doors, architraves, skirting, staircases, wall panelling, fitted cabinetry, wardrobes, and other architectural joinery where careful preparation and a refined painted finish are important.
Considering spray finishing for traditional window shutters in a Chelsea home? Send photographs of the shutters both open and closed, including close views of the panels, mouldings, hinges, catches, existing paint, damaged areas, and surrounding window frames. We can assess the condition of the joinery, discuss whether spraying or hand finishing is more appropriate, and plan the preparation, colour, and finish around the wider interior. To begin, request a site visit and we will arrange a time that suits you.

Tell us a few details about your project and our team will review the enquiry and come back to you within one working day.