

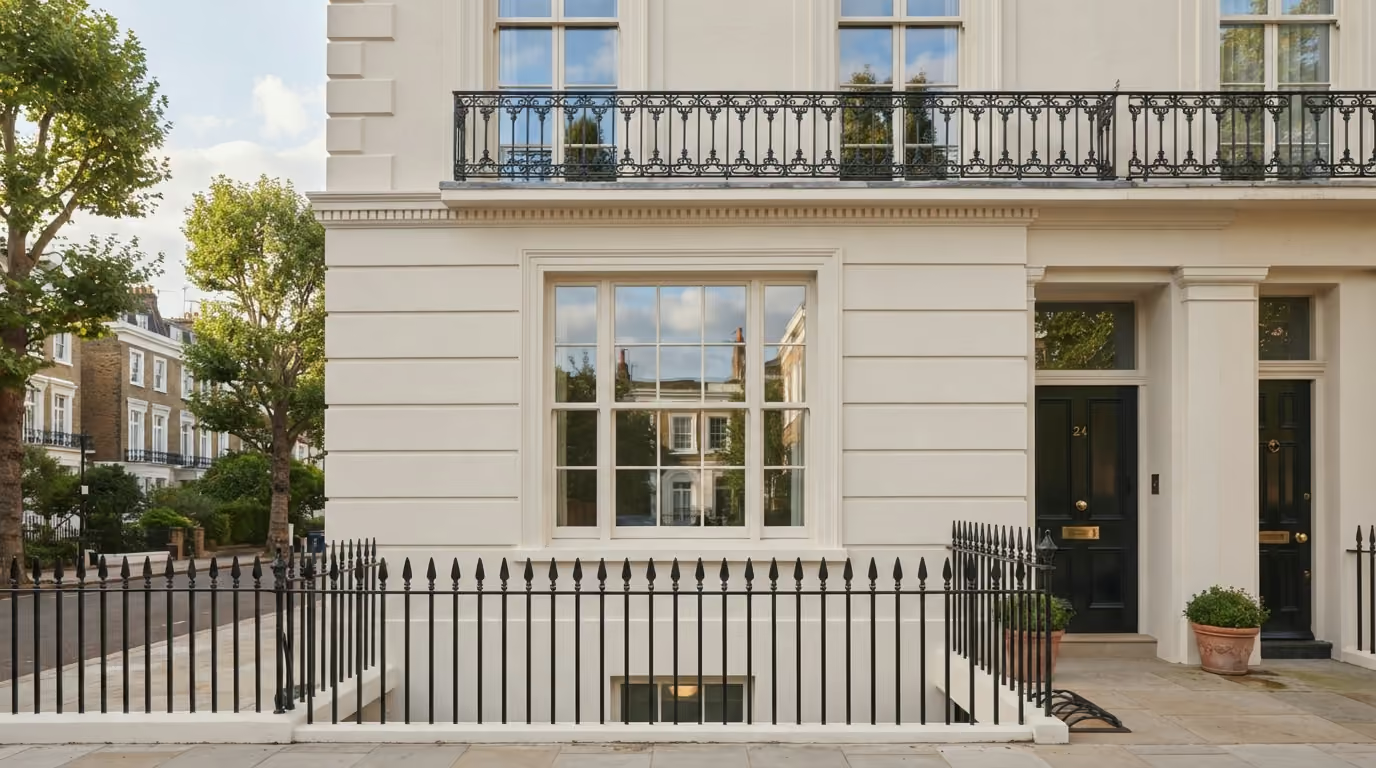
Repainting traditional sash windows requires careful preparation to protect the timber, preserve original architectural details, and keep the windows operating smoothly. This guide explains how to deal with old paint, sticking sashes, damaged glazing putty, timber decay, and moisture problems while choosing the right colour and finish for a Chelsea period home.
The practical answer: Repainting traditional sash windows in a Chelsea period home requires more than a fresh coat of exterior paint. The windows need to remain easy to open and close, the original glazing bars and mouldings should retain their definition, and the timber must be properly protected against moisture. Excessive paint build up, poorly prepared joints, damaged glazing putty, and painting across moving parts can all create problems. The best approach is to inspect the windows, complete any necessary timber and mechanical repairs, prepare the existing coatings, and apply the new finish without interfering with the sash mechanism. For specialist preparation and repainting, see our exterior and heritage painting service.
Traditional sash windows are among the most recognisable features of Chelsea's period architecture. Their slender glazing bars, balanced proportions, painted timber frames, and carefully detailed surrounds contribute significantly to the character of Georgian and Victorian townhouses.
They are also working pieces of joinery. Unlike a fixed exterior panel, a sash window contains moving sections, counterweights, cords, pulleys, and narrow clearances that allow the window to slide.
This creates a particular challenge during repainting. The finish must protect the exposed timber without restricting the window's operation.
A window that looks beautifully painted but can no longer open smoothly has not been properly restored.
This guide explains how to prepare and repaint traditional sash windows in Chelsea, including old paint build up, sticking sashes, glazing putty, timber decay, moisture protection, colour, sheen, safe preparation, and the details that should be checked before exterior decorating begins.
A sash window is made up of several separate components that must work together.
These commonly include:
Each component has a particular role.
Some surfaces need a protective painted finish. Other areas require carefully maintained clearances so the sashes can continue moving without friction or sticking.
Painting every visible gap without understanding the mechanism can create more problems than it solves.
The first stage should be a practical inspection.
Open and close each sash, where safe to do so, and check whether it moves smoothly.
Look for:
These issues should be recorded before decorating begins.
Otherwise, a window that was already difficult to operate may be incorrectly blamed on the new paint, or an existing mechanical problem may become worse after another coating is applied.
Sash windows are often painted shut when a coating bridges the narrow gap between a moving sash and its surrounding frame.
As the paint dries, it can bond the two surfaces together.
This may happen around:
The problem is not simply that too much paint has been used across the window.
It is that paint has been allowed to create a continuous film across a joint that needs to remain separate.
Repeated repainting can make the problem progressively worse, particularly when old paint build up is never reduced during preparation.
Traditional sash windows require a controlled painting sequence.
The sashes may need to be moved into different positions during preparation and application so the appropriate surfaces can be reached without painting across working joints.
The Society for the Protection of Ancient Buildings provides guidance on maintaining traditional sash windows and avoiding excessive paint build up.
Its advice stresses the importance of preserving the window's movement and keeping sash cords free from paint. See the SPAB guidance on sash window maintenance.
The precise approach depends on the construction and condition of each window.
The goal is to achieve adequate protection while preserving the clearances required for the sashes to operate.
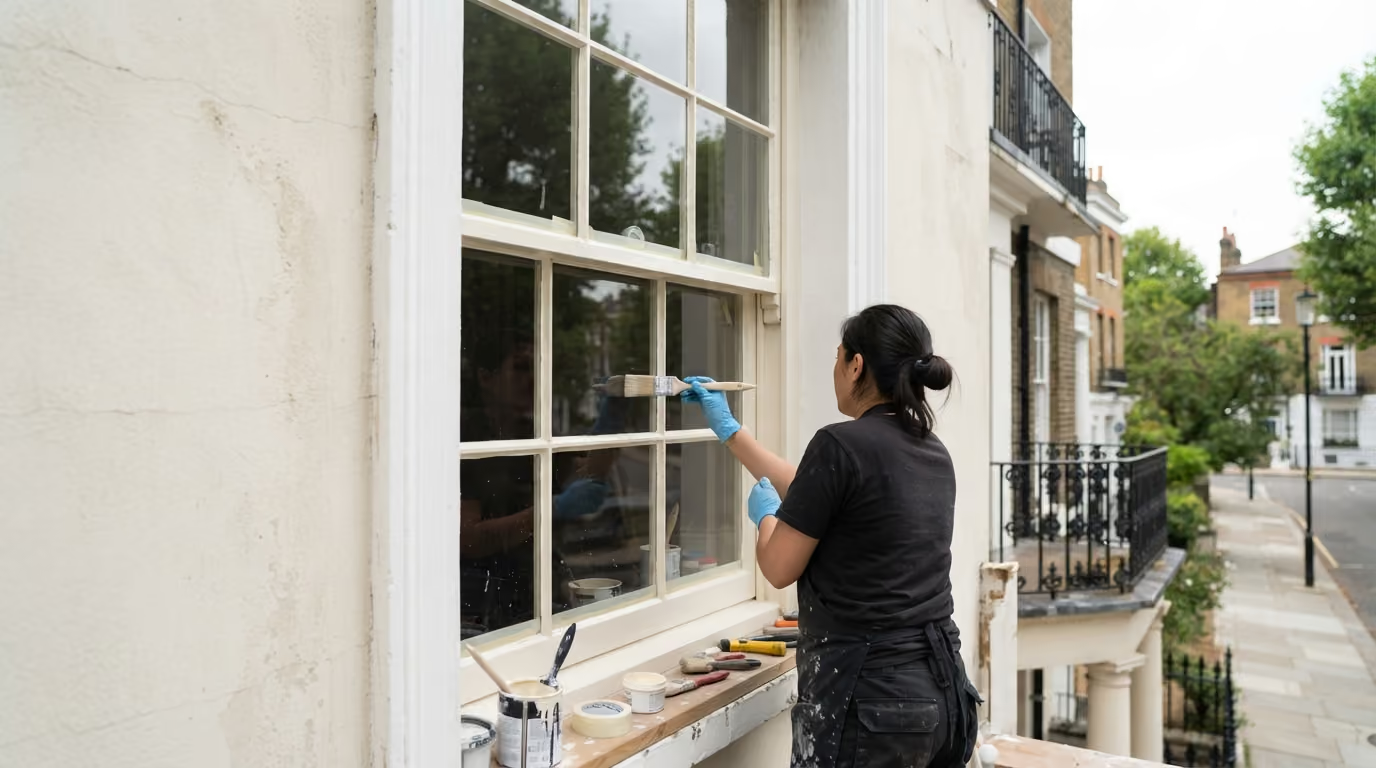
Many Chelsea sash windows have been painted numerous times over their lifetime.
Each coat adds a little thickness.
Eventually, excessive paint can accumulate around:
This can make the window harder to operate and gradually soften its original architectural detail.
The slender profiles that give period sash windows their character may begin to look rounded or heavy.
Preparation should address excessive paint build up where it causes problems, rather than simply adding another layer over the existing surface.
Not necessarily.
If previous coatings remain firmly bonded and the window operates correctly, complete stripping may be unnecessary.
Sound existing paint can often be prepared and retained as part of the next decorating system.
More extensive removal may be required when:
The extent of removal should be based on the condition of the actual window.
Unnecessary stripping can create additional disturbance and risk damage to delicate historic details.
Older sash windows can contain historic lead based paint beneath later decorative coatings.
This needs to be considered before sanding, scraping, or removing old finishes.
Disturbing lead containing coatings without appropriate precautions can create hazardous dust and debris.
Professional assessment and suitable control measures are particularly important in occupied properties, especially where several windows require preparation.
The preparation method should be selected with the age of the coatings, the condition of the timber, the glazing, and the safety of occupants in mind.
Traditional glazing bars are often slender and finely shaped.
They divide the window into smaller panes and contribute greatly to its proportions.
Heavy paint can gradually obscure their profiles.
Preparation should focus on preserving:
A good repaint should restore the clarity of these details rather than making the window appear heavily coated.
Traditional sash windows may use glazing putty to secure and seal the glass within the timber frame.
Over time, this putty can become brittle, crack, or separate from adjoining surfaces.
Warning signs include:
Defective putty should be assessed and repaired before final painting.
The correct treatment depends on the glazing system and condition of the existing materials.
A freshly painted frame will not remain properly protected if moisture can continue entering around failed glazing details.
On traditional putty glazed timber windows, the protective paint system normally needs to extend slightly onto the glass at the putty junction.
This creates a continuous protective edge that helps prevent moisture entering between the putty and glazing.
The overlap should be controlled and consistent, not a broad painted strip covering an unnecessary amount of glass.
Care is required to protect historic glazing during preparation and to avoid damaging either the glass or the putty.
This small detail can have a considerable influence on the quality of the finished window.
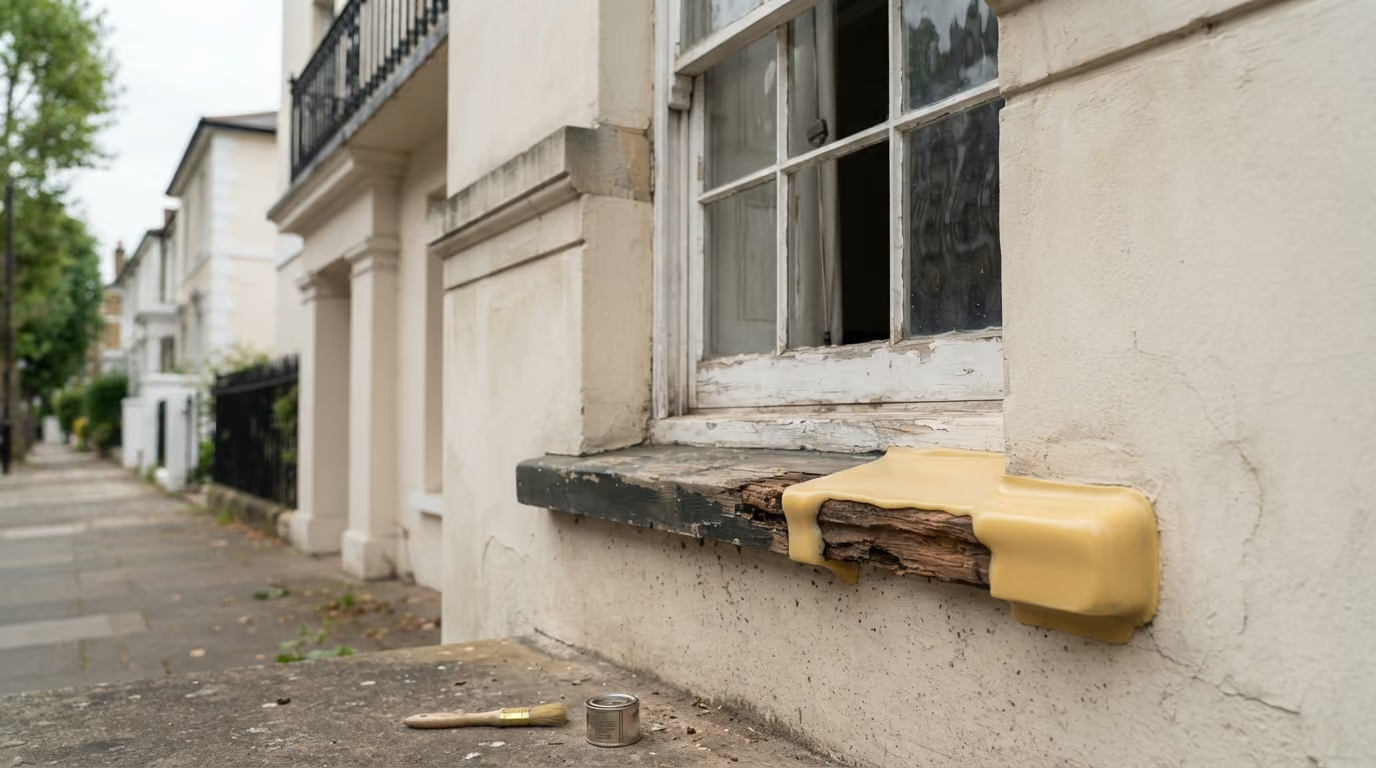
The sill receives direct rain and is exposed to repeated wetting and drying.
It is also a common location for paint breakdown and localised timber decay.
During inspection, look for:
A damaged sill should not simply receive another coat of paint.
The underlying timber needs to be sound and the source of any moisture problem understood.
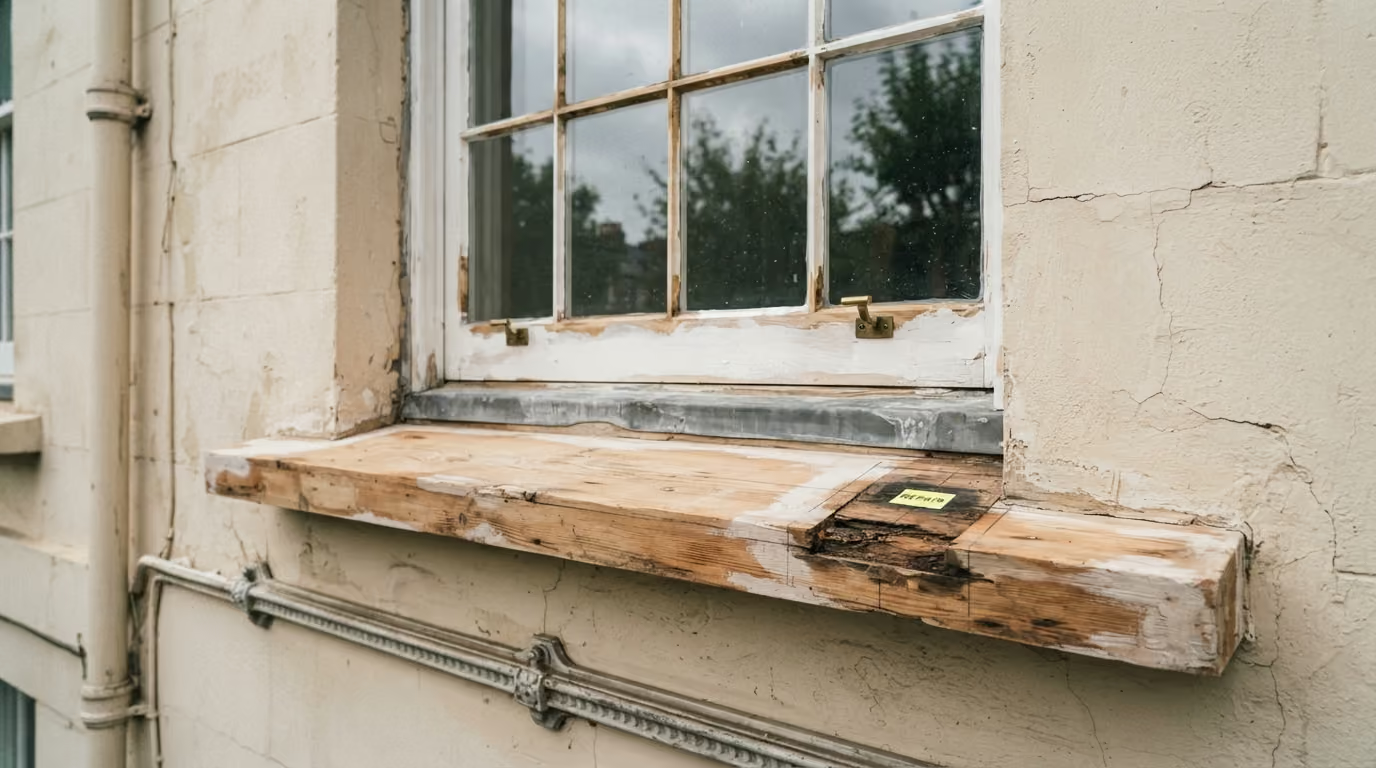
Decay in one part of a sash window does not automatically mean the entire window needs replacement.
Damage may be limited to:
Where enough sound timber remains, a specialist repair may be appropriate.
Bellefair is trained and certified in the Repair Care system, which uses professional resin based products for suitable timber repairs.
These repairs involve addressing the damaged material, preparing the remaining sound timber, and rebuilding the affected section using an appropriate repair system.
Repair Care should not be confused with simply spreading ordinary filler over rotten wood.
The suitability of a repair depends on the extent of the deterioration and the condition of the component.
Some timber defects are too extensive for a localised repair to be practical.
Replacement of a particular component may need to be considered when:
Complete replacement of the entire sash window should not automatically be the first option.
Historic England recommends retaining and repairing traditional windows wherever practical because their materials, proportions, and craftsmanship contribute to the character of historic buildings.
See Historic England's guidance on repairing older windows.
Paint protects timber, but it cannot compensate for an unresolved moisture problem.
Water may enter through:
If water continues entering the same area, paint failure and timber deterioration may return.
That is why window restoration should form part of a wider exterior maintenance assessment.
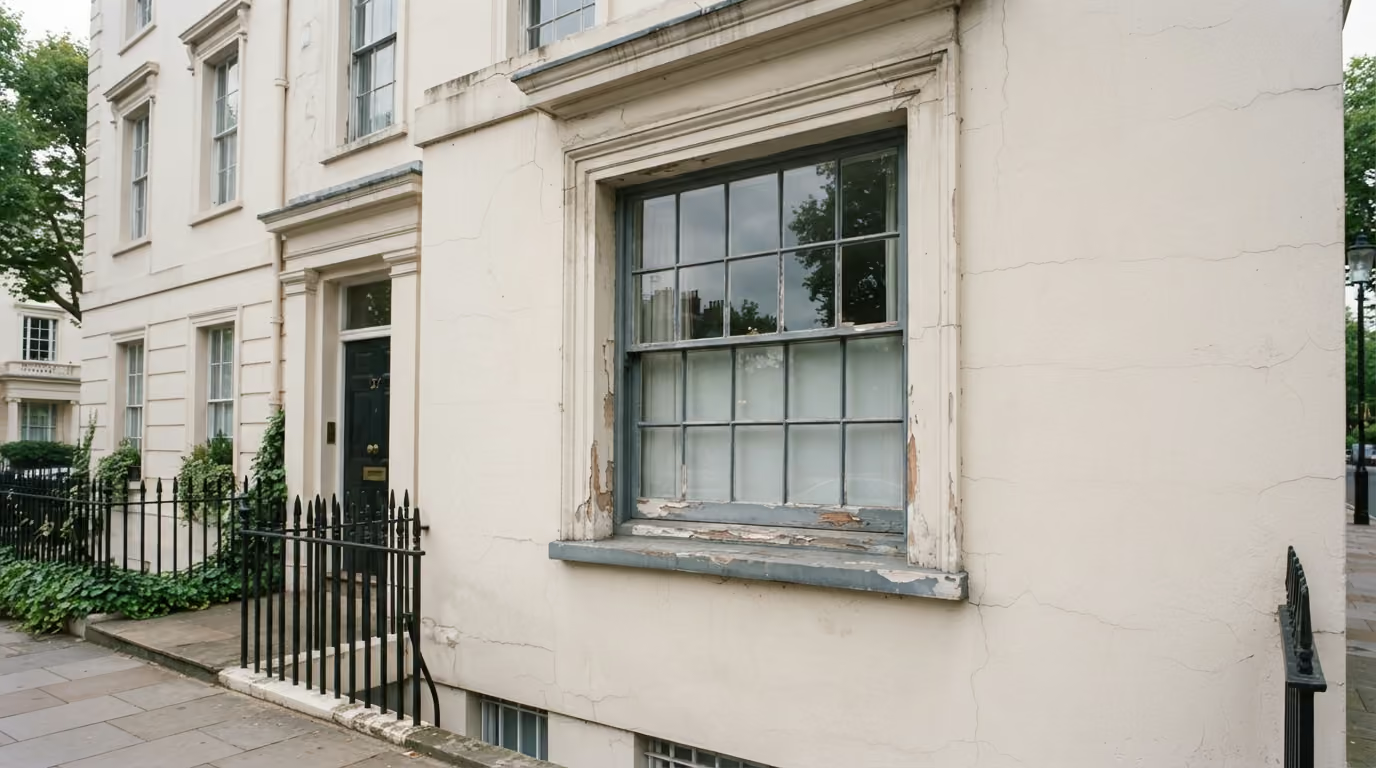
In Chelsea townhouses, sash window frames often sit within painted stucco or masonry surrounds.
The point where the materials meet deserves careful inspection.
Cracks or failed joints can allow rainwater to enter around the frame.
This may produce paint failure on the timber even when the immediately visible glazing and frame surfaces look reasonably sound.
Before repainting, check:
Any necessary repairs should be coordinated with the wider facade preparation.
Sash cords connect the moving windows to counterweights hidden inside the box frame.
If a cord breaks or becomes badly worn, the window may be difficult or unsafe to operate.
Warning signs include:
These mechanical problems should be investigated before final decoration.
Painting the window does not correct a failed balancing mechanism.
Sash cords should also remain free from paint, which can interfere with their movement and contribute to premature deterioration.
A window may still move immediately after painting but become difficult to operate later.
This can happen when:
The decorating programme should allow suitable drying time, with the window movement checked at appropriate stages.
Painted surfaces that meet closely should not be forced together before the coating has developed sufficient hardness.
Drying and curing periods depend on the selected product and weather conditions.
Both sides may require attention, but they have different exposure and practical demands.
The exterior faces receive rain, sunlight, and weathering.
The internal faces are exposed to handling, room humidity, and occasional condensation.
During an exterior decorating project, the main focus is usually the weather facing surfaces and vulnerable joints.
However, the window should be assessed as a complete assembly because defects on one side can affect the other.
Any internal decoration should be coordinated with the exterior work so that the sash mechanism remains functional throughout.
Traditional timber windows require a suitable coating system designed for the actual substrate and expected exposure.
The choice depends on factors such as:
Primers, undercoats, and finishing coats should be selected as a compatible system.
Using an expensive topcoat over unstable previous paint or poorly prepared bare timber will not compensate for inadequate preparation.
White remains a traditional and familiar choice for painted sash windows in Chelsea.
However, the correct colour should be considered in relation to the entire facade.
Possible directions include:
Changing the colour of a prominent historic facade can affect its architectural character.
Where the property is listed, located in a conservation area, or subject to other restrictions, the proposed colour and any associated alterations should be checked against the relevant requirements before work begins.
There may be good reasons to retain an established colour scheme, particularly where windows form part of a consistent terrace.
The sheen of the window paint changes how the timber and glazing bars appear.
A stronger sheen can create a more defined decorative effect, while a softer finish may feel more restrained.
The decision should take account of:
Higher sheen finishes may reveal surface defects more readily in strong daylight.
Careful preparation is particularly important when a smooth, reflective appearance is required.
When a Chelsea townhouse is undergoing a wider facade repaint, the sash windows should be assessed as part of the overall programme.
Scaffolding or other suitable access may already be available for:
This provides an opportunity to identify smaller defects that may be difficult to see from ground level.
It also allows timber repairs and facade decoration to be sequenced together, reducing the risk of one stage damaging work already completed.
Some period sash windows retain older glazing with subtle irregularities that contribute to the character of the property.
Care should be taken to protect the glass during paint removal, sanding, glazing repairs, and subsequent decoration.
Abrasive tools, inappropriate heat, and careless scraping can damage historic panes or surrounding putty.
Where older glazing survives, the restoration approach should prioritise retaining it wherever practical.
Exterior window painting requires appropriate weather and drying conditions.
Rain is an obvious concern, but surface moisture, temperature, humidity, and the exposure of the facade also matter.
A north facing window may remain damp longer than one receiving strong afternoon sunlight.
Equally, direct sunlight and high surface temperatures may make some coating systems difficult to apply correctly.
The programme should follow the requirements of the selected paint system rather than relying on a fixed date regardless of conditions.
Not every small paint defect requires the complete window to be repainted immediately.
Local maintenance may be appropriate when:
However, local repairs can remain visible when the surrounding paint has weathered or faded.
If several sections are beginning to fail, repainting a complete sash, frame, or window assembly may give a more consistent result.
Maintenance should not begin only when paint is peeling extensively.
Homeowners should periodically check:
Early intervention may allow small defects to be addressed before they lead to more extensive timber repairs.
The most successful sash window repaint should preserve three things: the original architectural character, the ability of the window to operate properly, and the protection of its timber against the weather.
Why do sash windows get stuck after painting? Paint can bridge the gap between a moving sash and its frame, or excessive coating build up can reduce the clearances needed for smooth movement.
Can sash windows be repainted without removing them? Often, yes. Many sash windows can be prepared and painted in place, although more extensive repairs may require the sashes to be removed.
Should all old paint be stripped from a sash window? Not necessarily. Sound existing coatings can often remain. More extensive removal may be appropriate where paint is unstable, excessively thick, or interfering with the window's operation.
Can damaged sash window timber be repaired? Yes, in suitable cases. Localised deterioration may be repaired using specialist timber repair methods, including the Repair Care resin system where appropriate.
Should glazing putty be checked before painting? Yes. Cracked or loose putty can allow moisture to reach the timber and should be addressed before final decoration.
Can sash cords be painted? No. Sash cords should remain free from paint to preserve their movement and avoid unnecessary deterioration.
Does repainting sash windows improve their weather protection? A properly prepared and compatible exterior paint system helps protect sound timber from weathering, provided damaged joints, glazing details, and moisture problems have been addressed.
Can historic sash windows be retained instead of replaced? Often, yes. Many traditional windows can be repaired, adjusted, and redecorated while retaining their original proportions and character.
We carry out exterior and heritage painting across Prime Central London, including Chelsea, Kensington, Belgravia, Notting Hill, Knightsbridge, and Westminster. Our work includes traditional sash windows, timber sills, exterior doors, frames, decorative joinery, certified Repair Care timber repairs, stucco facades, railings, and other architectural elements where careful preparation and traditional building character matter.
Planning to repaint traditional sash windows in a Chelsea home? Send photographs of the full windows, including close views of the glazing bars, sills, existing paint, putty, timber joints, and any areas where the sashes stick or the finish is failing. We can assess the visible condition, identify preparation and repair requirements, and plan the repainting so the original details remain well defined and the windows continue to operate correctly. To begin, request a site visit and we will arrange a time that suits you.
Tell us a few details about your project and our team will review the enquiry and come back to you within one working day.


