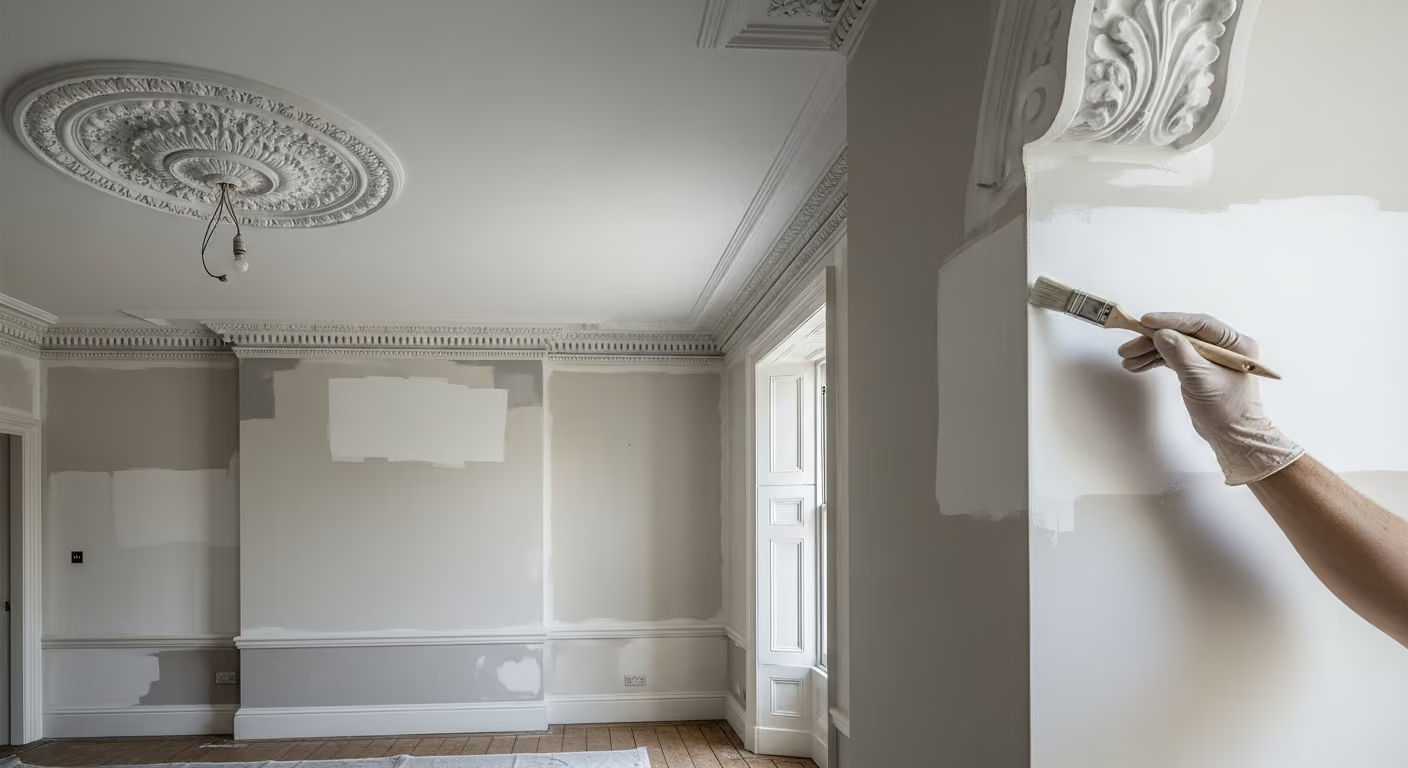
Planning to repaint period cornices or ceiling roses in a Westminster home? This guide explains how to assess cracks, loose plaster, old paint build, stains, colour, and preparation so the original detail stays crisp and the room feels fresh and refined.
The practical answer: Repainting period cornices and ceiling roses requires more care than painting a plain ceiling. Old paint build, hairline cracks, loose plaster, dust, previous repairs, and heavy brush application can soften the original detail. The best result comes from a careful inspection, controlled cleaning, suitable repairs, light preparation, and thin, even coats that refresh the plasterwork without filling its finer lines. For a complete room finish plan, see our interior painting and decorating service.
Period cornices and ceiling roses give Westminster interiors much of their character. They frame the ceiling, bring balance to tall rooms, and create a natural link between walls, windows, fireplaces, and doors. In some homes, the plasterwork is restrained and classical. In others, it includes leaves, flowers, scrolls, dentils, or layered mouldings that catch the light throughout the day.
These details can survive for generations, but repeated decoration can gradually change their appearance. Thick paint gathers inside grooves. Fine lines become rounded. Cracks appear where the ceiling meets the wall. Old repairs become more visible once the room is freshly painted. A ceiling rose that once looked crisp can begin to feel heavy and indistinct.
A good repaint should not simply make the plasterwork white again. It should preserve its profile, repair visible weaknesses, and help the detail sit naturally within the room. This guide explains how to repaint period cornices and ceiling roses in a Westminster home without losing the character that makes them valuable.
A plain plaster wall can usually be sanded, filled, primed, and painted as one broad surface. Decorative plasterwork contains many small edges, recesses, curves, and repeated details. Each one can hold dust and old paint. Each one also catches light differently.
This makes the work more delicate. Heavy sanding can damage fine detail. Thick paint can fill narrow grooves. Poorly placed filler can change the original profile. Strong cleaning products can affect fragile surfaces.
The main goals are to:
The process should respect the age and construction of the interior rather than treat the cornice like standard modern trim.
Period plasterwork can look sound from floor level while hiding small failures. Strong daylight, wall lights, or a portable inspection light can reveal cracks, loose sections, previous filler, and heavy paint build.
Before repainting, check for:
The inspection decides whether the work is mainly decorative or whether specialist plaster repair is needed first. Painting should not begin over loose or unstable detail.

Many period cornices have been painted repeatedly over decades. Each coat may be thin, but together they can soften the profile. Deep grooves become shallow. Leaf details lose their edges. Small decorative lines disappear.
This is especially common where:
Not every cornice needs stripping. Removing old coatings from fragile plaster can create its own risks. The correct approach depends on the condition, the amount of paint build, and how much detail remains visible.
In many cases, controlled cleaning, careful removal of loose paint, light preparation, and thinner new coats can improve the appearance without aggressive intervention.
Cornices and ceiling roses collect dust, cobwebs, soot, and fine residue. This is often more visible in rooms with fireplaces, older heating systems, or many years between full decorations.
The surface needs to be clean before repairs and painting, but cleaning must be gentle. Fragile plaster can be damaged by excessive water, hard scrubbing, or unsuitable products.
Cleaning may include:
The aim is to remove surface contamination without softening edges or introducing unnecessary moisture.
Hairline cracks are common in older Westminster homes. Buildings move slightly over time, and the junction between wall, ceiling, and decorative plaster can respond differently to that movement.
Some cracks are stable and mainly cosmetic. Others return repeatedly because movement continues beneath the surface. Before filling, it helps to consider:
A small cosmetic crack may be repaired carefully as part of decoration. A wider or recurring crack may need further investigation before repainting.
Filler should not be spread broadly across decorative plasterwork. This can flatten fine detail and create smooth patches that look different from the original moulding.
A controlled repair should:
The best repair is one that restores stability while remaining visually quiet after painting.

Paint cannot secure plasterwork that has lost its bond. If a cornice section is loose, cracked through, or moving away from the wall or ceiling, it should be assessed and repaired before decoration.
Warning signs can include:
These issues may require specialist plaster repair. Covering them with filler and paint would hide the warning signs without resolving the cause.
Ceiling roses often sit around chandeliers, pendants, or decorative fittings. Their condition can be affected by old electrical work, previous fitting changes, ceiling movement, and repeated painting.
Before repainting a ceiling rose, check:
Electrical work should be completed before the final decoration. Moving a ceiling fitting after painting can damage the rose and create new repair work.
A ceiling rose is closely connected to the room’s lighting. The size and position of the fitting affect how the plasterwork is seen. A new chandelier may require different fixings, electrical work, or structural support.
Before decorating, confirm:
Completing this work first protects the final painted surface and avoids unnecessary repairs later.
Old water stains can appear on ceilings, cornices, and ceiling roses after a leak. Even if the source has been repaired, the mark may return through ordinary paint unless it is treated properly.
Before decorating:
Painting over an active damp area will not solve the problem. The moisture source must be addressed first.

Complete paint removal is not always necessary or desirable. It can be difficult, disruptive, and risky on fragile decorative plaster. The decision should be based on the condition of the existing coating and the amount of detail being lost.
More extensive removal may be considered when:
A lighter preparation approach may be suitable when:
The safest method is the one that improves the finish while preserving the original plaster beneath it.
Primer may be needed on repaired plaster, bare areas, stains, or surfaces with uneven absorption. It helps the finish coats dry consistently and reduces visible patches.
The correct base preparation can:
Primer should be applied carefully so it does not collect inside small details. Thin, controlled application is important at every stage.
One of the most important rules when repainting decorative plaster is to avoid heavy coats. Thick paint can gather in grooves, round off edges, and create drips on lower sections.
Better application means:
Several controlled stages are better than one heavy application. The finish should cover the plasterwork without burying it.
Decorative cornices and ceiling roses often need careful brush application because the tool can follow curves and reach into detailed sections. The brush still needs to be used with control.
Good technique includes:
The goal is not to make the plasterwork look glossy or heavily coated. It is to give it a clean, even appearance while keeping the detail legible.
Matching the cornice to the ceiling is the most common approach. It creates a calm upper frame and allows the wall colour, furniture, and artwork to carry more of the room’s character.
This works especially well when:
A softened white often works better than a brilliant white in period rooms. It feels less harsh beside warm wall colours, timber floors, aged marble, and traditional furniture.
Some interiors benefit from a cornice that relates more closely to the walls. This can create a stronger architectural effect or make the room feel more enclosed.
A coloured cornice may work when:
Using the wall colour across the cornice and ceiling can also work in selected rooms, especially bedrooms, studies, or dining rooms. Large samples and a clear lighting plan are essential before making this choice.
Contrast affects how clearly the cornice is seen. A deep wall colour beneath a light cornice makes the profile more visible. A pale wall creates a softer transition. Limewash or textured finishes can make crisp painted plasterwork feel even more defined.
If the walls use Bauwerk limewash, the mineral movement can sit beautifully below a clean painted cornice. If the room uses wallpaper, the cornice provides a clear finishing line at the top of the wall.
The colours should share compatible undertones. A cold white cornice can look harsh above warm wallpaper, stone tones, or limewash.

The meeting point between wall colour and cornice is one of the most visible lines in a period room. A wavy or heavy cut line can make the whole finish look less refined.
Good preparation includes:
Older rooms are not always mathematically straight. The goal is a line that looks calm to the eye from the normal viewing position.
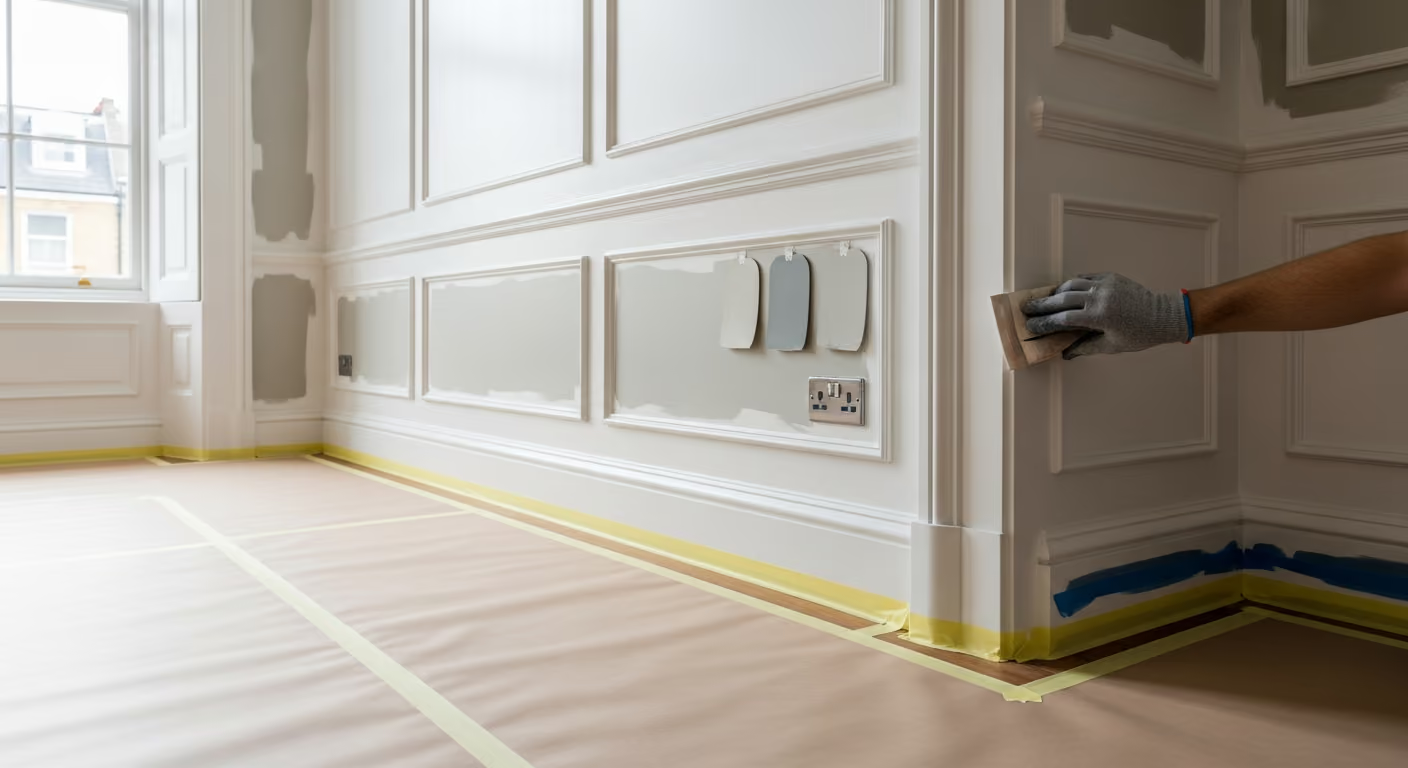
Cornice and ceiling work takes place above the entire room. Paint, plaster dust, and small repair materials can fall across floors, fireplaces, furniture, lighting, and joinery.
Protection may include:
In occupied Westminster homes, careful protection and daily cleaning are essential parts of the project.
Cornice and ceiling rose repairs should happen before final wall decoration. A logical sequence helps prevent damage to finished surfaces.
A typical order may include:
This sequence keeps the most delicate upper work away from finished walls and furniture.
The strongest result comes from treating the plasterwork as part of the architecture, not simply as another painted surface.
Can heavily painted cornices be restored? Often, they can be improved. The correct method depends on the stability of the plaster, the amount of paint build, and how much original detail remains visible.
Should cracks in cornices always be filled? Cosmetic cracks can often be repaired, but recurring, widening, or loose areas should be investigated before decoration.
Should ceiling roses match the ceiling colour? Usually, yes. A matching or closely related softened white creates a calm result, although selected rooms can support a more tonal treatment.
Can a ceiling rose be painted after changing the light fitting? Yes, but electrical and fixing changes should be completed first so the final decoration remains clean.
Does decorative plasterwork need primer? Repaired, bare, stained, or uneven areas often benefit from suitable priming. The correct system depends on the existing surface.
Can wallpaper meet directly beneath a cornice? Yes. The cornice should be prepared and painted first, then the wallpaper installed to a clean, stable edge.
We carry out interior painting and decorating across Prime Central London, including Westminster, Belgravia, Chelsea, Kensington, Notting Hill, and Knightsbridge. Our projects often include period cornices, ceiling roses, plaster details, reception rooms, bedrooms, dining rooms, hallways, doors, and fine interior joinery.
Planning to repaint period cornices or ceiling roses in your Westminster home? Send photographs of the full room and close views of cracks, old repairs, paint build, stains, and decorative details. We can assess the preparation required, advise on colour and finish, and plan a careful repaint that preserves the plasterwork while making the whole room feel fresh and refined. To begin, request a site visit and we will arrange a time that suits you.
Tell us a few details about your project and our team will review the enquiry and come back to you within one working day.