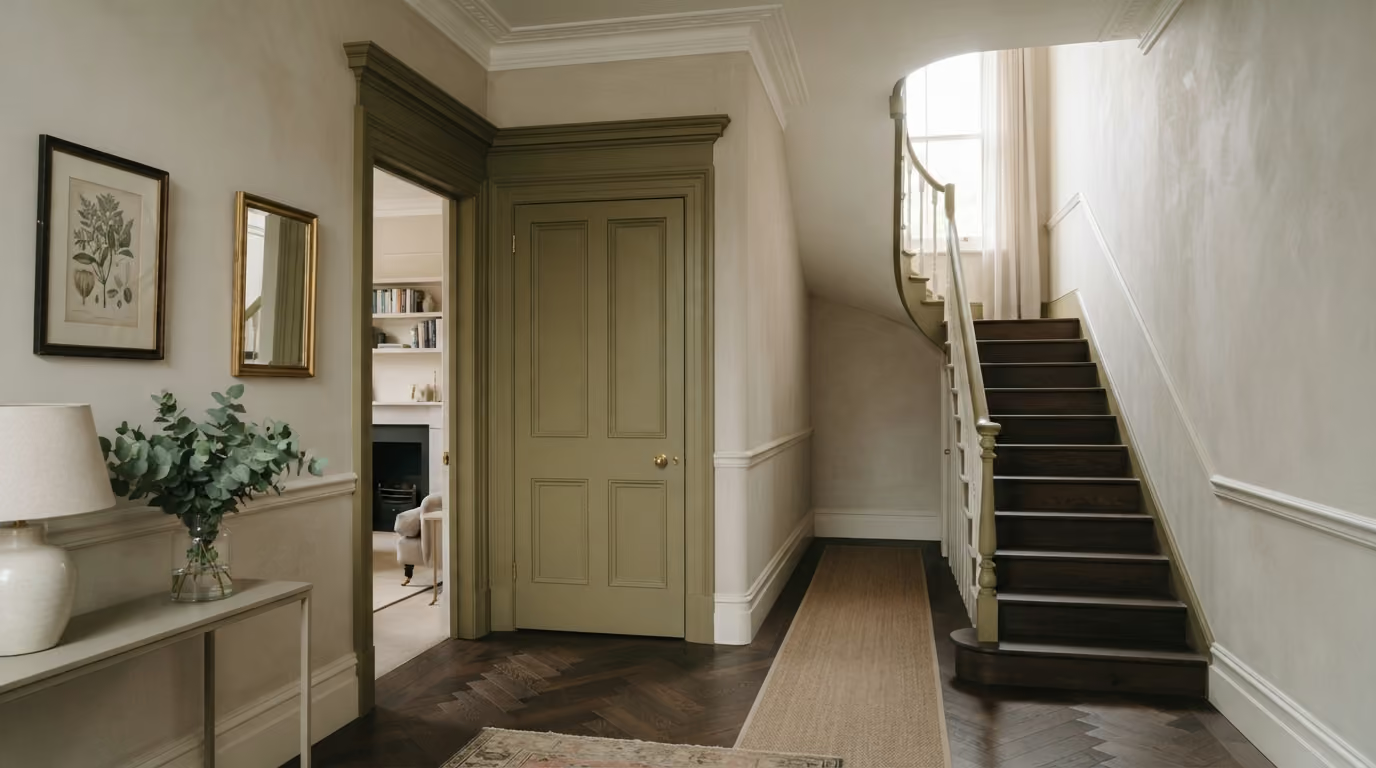
Period doors and architraves can lose definition after years of repainting, wear, and small repairs. This guide explains how to assess old coatings, prepare damaged areas, choose the right colour and sheen, and plan hardware and surrounding woodwork for a refined result.
The practical answer: Repainting period doors and architraves in a Chelsea home is mostly about preparation. Older joinery may have several layers of paint, filled dents, worn edges, small cracks around joints, and years of contact around handles. Adding another coat without correcting these details can make the profiles look heavier and the finish less refined. The best approach is to assess the existing coating, repair damaged areas, prepare the surface carefully, choose the right colour and sheen, and then apply the new finish consistently across the doors, frames, skirting, and surrounding decoration. For professional preparation and finishing, see our interior painting and decorating service.
Doors are some of the most visible painted surfaces in a period interior. They are also handled constantly. A reception room wall may remain untouched for years, while a door is opened, closed, pushed, cleaned, and viewed from several angles every day.
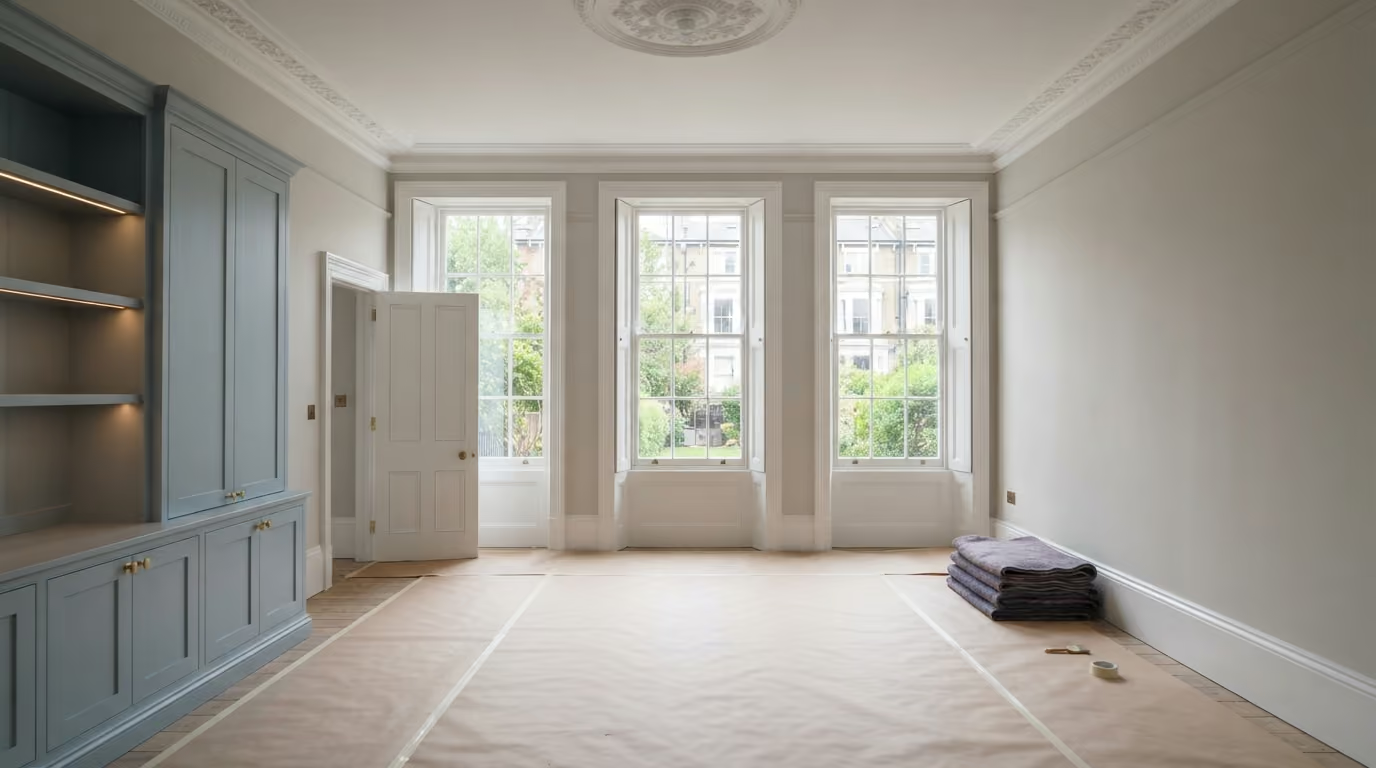
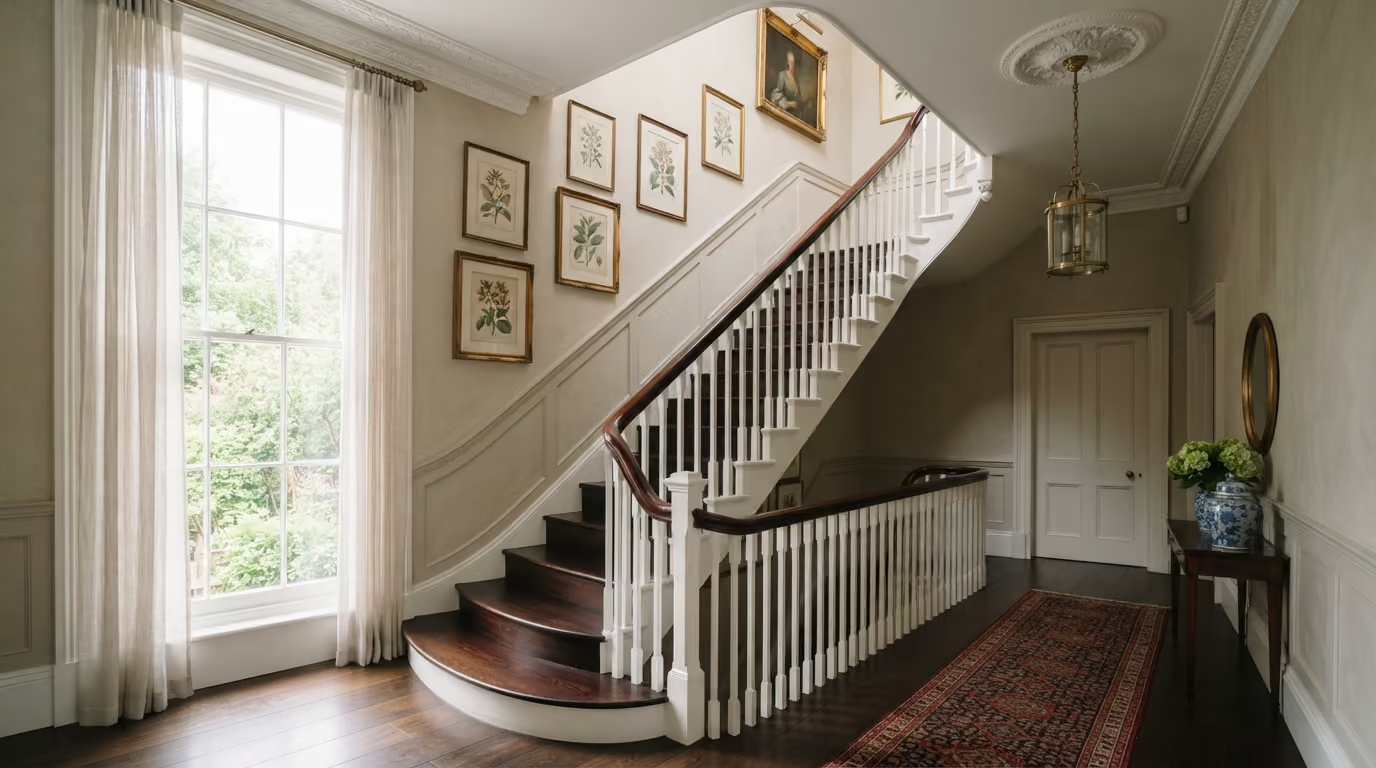
In Chelsea properties, doors and architraves may also form part of a much wider architectural composition. Tall panelled doors can sit beside cornices, decorative skirting, dado rails, wall panelling, fireplaces, and original flooring. The quality of the joinery finish therefore affects how the whole room feels.
This guide explains how to repaint period doors and architraves properly, including old paint build up, damaged edges, cracks, hardware, colour, sheen, preparation, and how the doors should relate to the walls and other woodwork.
Not every old painted door needs to be stripped completely.
If the existing coating is stable, well bonded, and not excessively thick, it can often be prepared and repainted. More extensive removal may be needed where the paint is loose, heavily built up, or hiding architectural detail.
Look for:
The preparation should respond to what is actually there rather than assuming every door needs the same treatment.
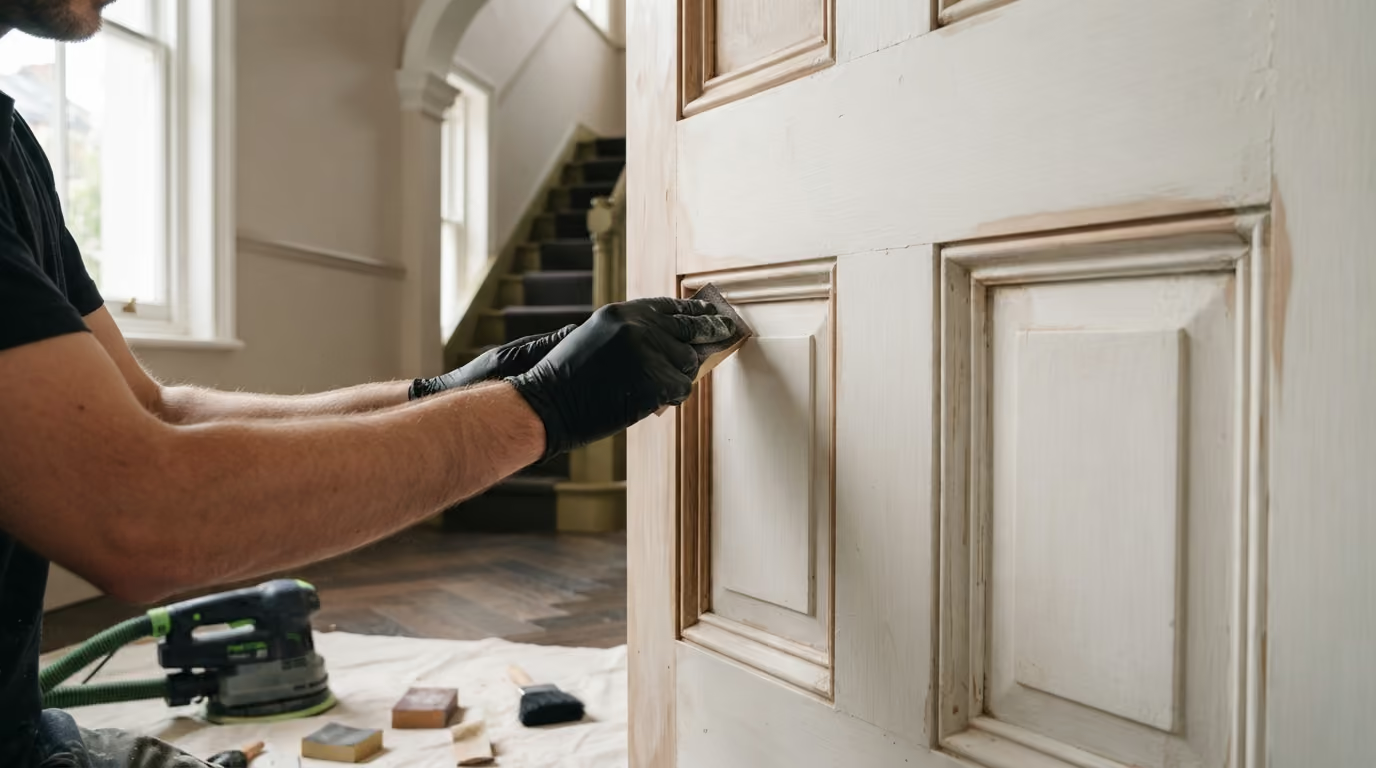
Period doors often contain moulded panels and detailed edges that rely on clean shadow lines.
After repeated repainting, paint can gradually collect in:
The door may still look neat from across the room, but the original detail can become softer and heavier.
Preparation should remove loose material and reduce excessive build up where necessary while preserving the shape of the joinery.
This becomes especially important when the final colour is dark because strong side light can emphasise every heavy paint edge.
Timber moves naturally as humidity and temperature change. Period doors may therefore develop fine lines where panels meet surrounding rails and stiles.
Not every fine joint line should be treated as a major defect.
Before filling, consider:
Rigidly filling a naturally moving joint can sometimes result in the line returning later.
The condition of the joinery should guide the repair rather than trying to make every construction joint disappear permanently.
The centre panels often remain relatively protected. The edges receive much more contact.
Common damage appears around:
These areas may need filling, sanding, or adjustment before painting.
If a door is rubbing against the frame, adding another layer of paint without addressing the clearance may make the problem worse.
Before decorating, open and close every door.
Check:
Decorating is the wrong stage to ignore a mechanical problem.
A beautifully painted door that catches against the frame will soon show wear along the affected edge.
Homeowners often focus on the door leaf itself, but the architrave is equally visible.
Period architraves may contain:
The line between the architrave and wall should be clean.
If the plaster edge is uneven, simply painting the timber more carefully will not correct the transition. Small wall repairs may need to be completed first.
Often, yes. Using one colour creates continuity and allows the entire opening to read as one architectural element.
This is particularly effective with:
However, there are other options.
A darker door within a lighter architrave can create stronger emphasis. A softer wall coloured architrave can reduce the visual contrast around the opening. Natural timber doors may also sit within painted frames where the timber quality justifies keeping it visible.
The choice should be made as part of the whole room rather than treating the door as an isolated object.
White doors remain common because they are familiar and work across many interiors. In period Chelsea homes, however, deeper or warmer colours can sometimes suit the architecture better.
Possible directions include:
The correct choice depends on the wall colour, flooring, natural light, skirting, furniture, and hardware.
A strong door colour can create rhythm through a hallway or reception room, particularly when several doors are visible at once.
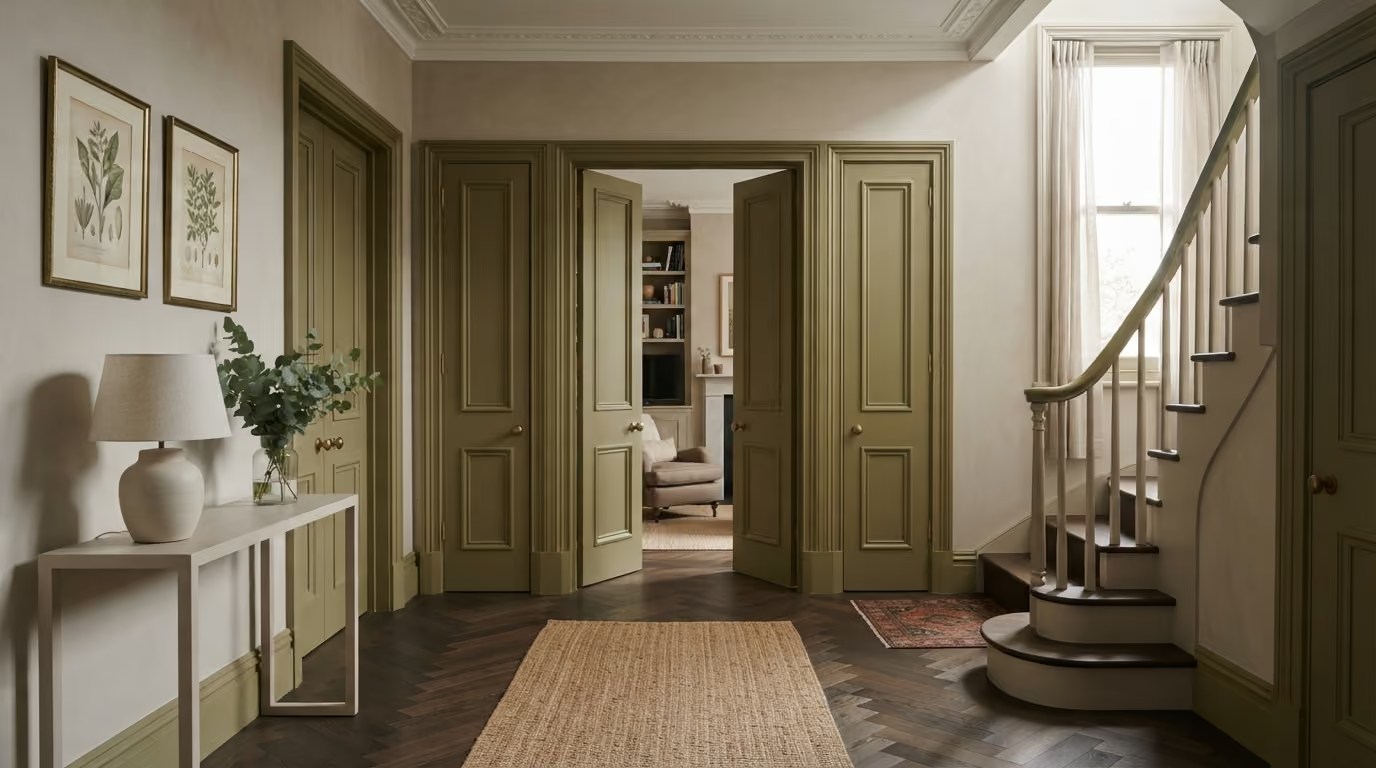
Deep colours can make period doors look particularly architectural, but they also reveal defects.
Strong light can highlight:
A dark colour should therefore not be used as a way of hiding a tired door.
The smoother and cleaner the preparation, the better the final result will appear.
A joinery colour cannot be judged properly on its own.
The same door colour can appear completely different beside:
A warm stone door may look beautifully neutral against one wall and noticeably beige beside another.
Samples should be checked directly against the proposed wall finish.
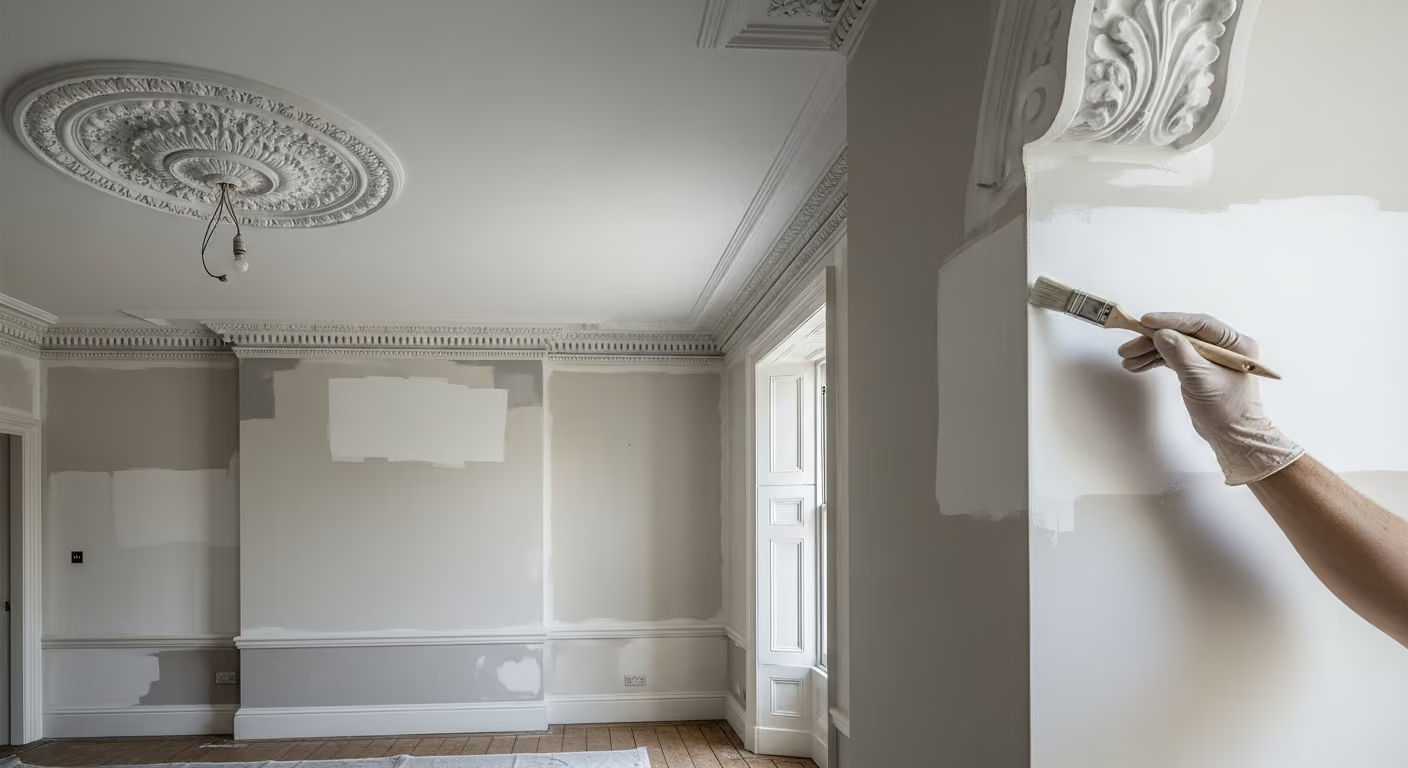
If the room also includes specialist wall finishes, the relationship should be planned at the same time rather than choosing the doors after the walls are complete.
Doors, architraves, and skirting often form one continuous joinery system around the room.
Using the same colour throughout can create a calm and coherent result.
This is particularly useful where:
Different colours can still work, but each additional transition introduces another visual line.
A dark door with white architrave and different coloured skirting may feel more fragmented than intended unless the scheme has been designed specifically around those contrasts.
The sheen level changes both the appearance of the colour and how clearly imperfections are seen.
Eggshell and satinwood are common directions for interior joinery.
A lower sheen can feel softer and more understated. A stronger satin finish gives the door more definition and can reflect more light.
The choice should consider:
Higher sheen generally reveals surface imperfections more easily, so preparation becomes increasingly important.
Painting carefully around handles, locks, escutcheons, and finger plates may save time initially, but it can leave untidy edges and accumulated paint around the fittings.
Where appropriate, hardware can be removed before preparation and painting.
This allows:
The hardware should be labelled and recorded so each piece returns to the correct door.
New handles do not always use the same fixing positions as the old hardware.
If handles are being changed, they should be selected before the final preparation stage.
This gives time to:
Drilling new holes after the door has been freshly painted creates unnecessary risk.
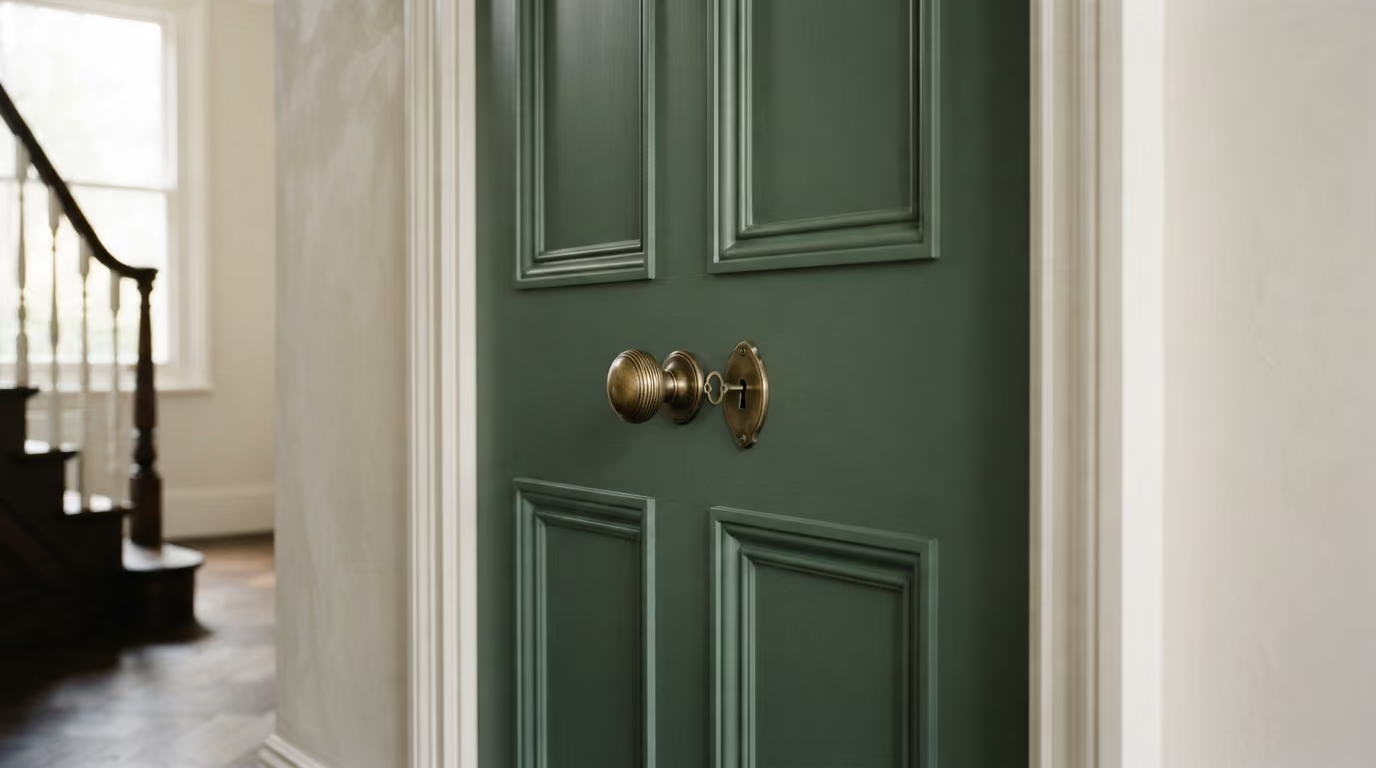
Repeated hardware changes can leave several generations of holes around the same section of a door.
The timber may contain:
These repairs are often hidden while the old hardware remains installed and only become obvious once it is removed.
Allowing enough preparation time around hardware areas can make a substantial difference to the finished appearance.
Hinges are easy to overlook because they are less visible when the door is closed.
Before repainting, check:
Painting repeatedly over hinge edges can create a heavy and untidy appearance.
Where appropriate, hardware should remain clearly defined rather than disappearing beneath another decorative coat.
It depends on the condition of the door, the finish required, and the wider project.
Removing doors can make it easier to:
However, period doors can be heavy, carefully fitted, and sensitive to adjustment. Removing them unnecessarily may create more work.
The decision should be made individually rather than assuming every door must come off its hinges.
Both methods can be appropriate for interior doors.
A carefully applied brush finish suits many traditional period interiors and can retain a subtly hand finished character.
Spraying may be considered when:
The application method should suit the architecture and desired finish rather than assuming one technique is universally better.
The main face of the door receives most of the attention, but exposed edges also need to be considered.
The bottom edge may show:
The top edge may contain accumulated dust or historic paint runs.
These details are easier to assess during preparation than after the final coats are complete.
When wallpaper meets an architrave, the transition becomes highly visible.
The architrave should be prepared and painted so the wallpaper installation has a clean architectural edge to work against.
If wallpaper is planned, the sequence should be coordinated through the wider decorating project. See our wallpaper service for specialist wall preparation and installation.
Old paint ridges, cracked edges, or damaged plaster beside the architrave should be corrected before the final wallcovering is installed.
Limewashed walls have natural tonal variation, while painted doors are much more uniform.
This can create an attractive contrast, but brilliant white joinery can sometimes feel too sharp beside warm mineral walls.
Soft off whites, stone colours, putty, muted olive, and deeper neutral doors can often sit more naturally with limewash.
The door and wall samples should always be viewed together under the actual room lighting.
Doors positioned opposite tall sash windows may receive direct side light for part of the day.
Other doors may sit beside wall lights or beneath strong ceiling lighting.
This can expose:
The prepared surface should therefore be inspected under the strongest lighting conditions before final painting begins.
A good door repaint should make the joinery feel sharper and better integrated into the room without making it look newly coated for the sake of it.
Do old painted doors need to be stripped before repainting? Not always. Stable existing coatings can often be prepared and retained. More extensive removal may be appropriate where paint is loose, excessively thick, or obscuring the original detail.
What paint finish is suitable for interior doors? Eggshell and satinwood are common options. The right sheen depends on the desired appearance, existing joinery, colour, and surface condition.
Should doors and architraves be the same colour? They often are, and this creates a cohesive opening, but contrasting or related colours can also work when planned carefully.
Can period doors be painted dark colours? Yes. Deep colours can give period doors strong architectural presence, although they require particularly careful preparation because defects can become more visible.
Should handles be removed before repainting? Where practical, removing hardware can make preparation and finishing cleaner and allows old fixing holes or damaged areas to be repaired properly.
Should skirting match the doors? It often works well, especially in rooms where the joinery should read as one system, but it is not compulsory.
We carry out interior painting and decorating across Prime Central London, including Chelsea, Kensington, Belgravia, Notting Hill, Knightsbridge, and Westminster. Our work includes period doors, architraves, skirting, wall panelling, fitted joinery, reception rooms, bedrooms, staircases, and other interiors where careful preparation and detailed finishing are important.
Planning to repaint period doors and architraves in a Chelsea home? Send photographs of the full doors and frames along with close views of the mouldings, existing paint, handles, hinges, chips, cracks, and any areas where the doors rub or the finish is failing. We can assess the condition of the joinery, discuss preparation, colour, and sheen options, and plan the work alongside the surrounding walls and woodwork. To begin, request a site visit and we will arrange a time that suits you.
Tell us a few details about your project and our team will review the enquiry and come back to you within one working day.