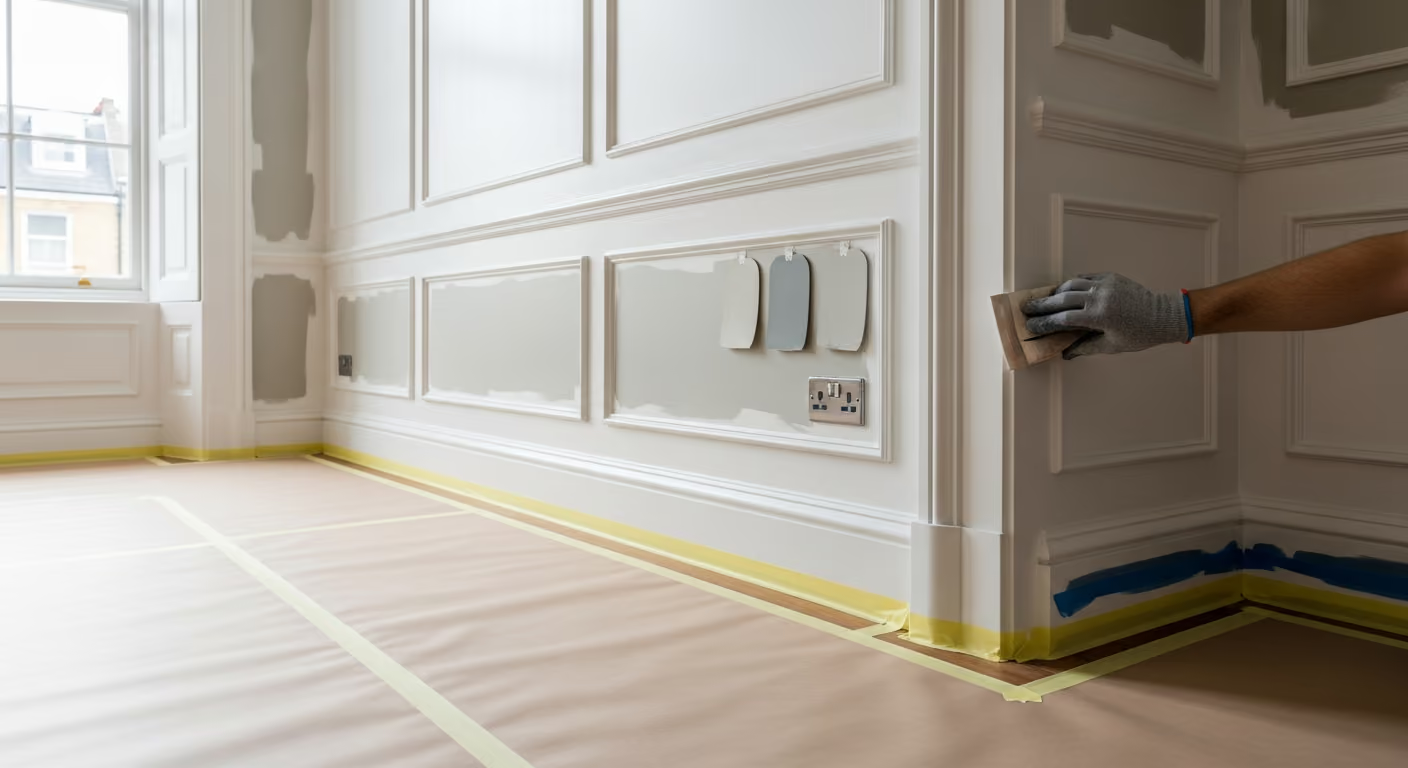
Planning to repaint panelled walls in a Westminster home? This guide explains how to assess joints, mouldings, old paint build, colour, sheen, and preparation so the finished room feels crisp, refined, and true to the architecture.
The practical answer: Painting panelled walls in a Westminster home needs more preparation than painting a flat plaster wall. Joints, mouldings, old paint build, cracks, and small dents all become more visible once the final coats are applied. The best result comes from careful cleaning, sanding, filling, priming, and a colour and sheen that suit both the architecture and the way the room is used. For a complete finish plan, see our interior painting and decorating service.
Wall panelling can give a Westminster interior structure, rhythm, and a strong sense of craftsmanship. It may frame a hallway, add depth to a reception room, create a more formal dining space, or make a study feel settled and architectural. When the finish is good, the panelling looks like part of the room rather than an added decorative layer.
When the finish is poor, every weakness becomes noticeable. Paint can collect in corners. Mouldings can lose their definition. Joints can crack. Brush marks can catch the light. Old filler can show through. A colour that looked elegant on a sample can feel heavy once it covers every panel, rail, and section of trim.
This guide explains how to repaint panelled walls in a Westminster home, from checking the existing condition and preparing the surface to choosing colour, sheen, and the right relationship between the panelling and the rest of the room.
A flat wall is one continuous surface. Panelling is made up of many smaller parts. It may include rails, stiles, mouldings, recessed panels, raised panels, skirting, picture rails, and junctions with doors or windows. Each part catches light differently.
This means the finish has to work across:
The panelling may also be timber, MDF, plaster, or a mixture of materials. That affects how it should be prepared and primed. A careful condition check should happen before any colour is chosen.
Panelled walls can look sound from a distance while hiding small issues close up. Old coatings may be chipped around corners. Joints may have opened. Paint may have softened the moulding profile. Lower sections may be marked by furniture or daily contact.
Before repainting, check for:
This inspection helps separate cosmetic work from repair work. If joints are moving or mouldings are loose, those issues need to be dealt with before the final paint system is applied.
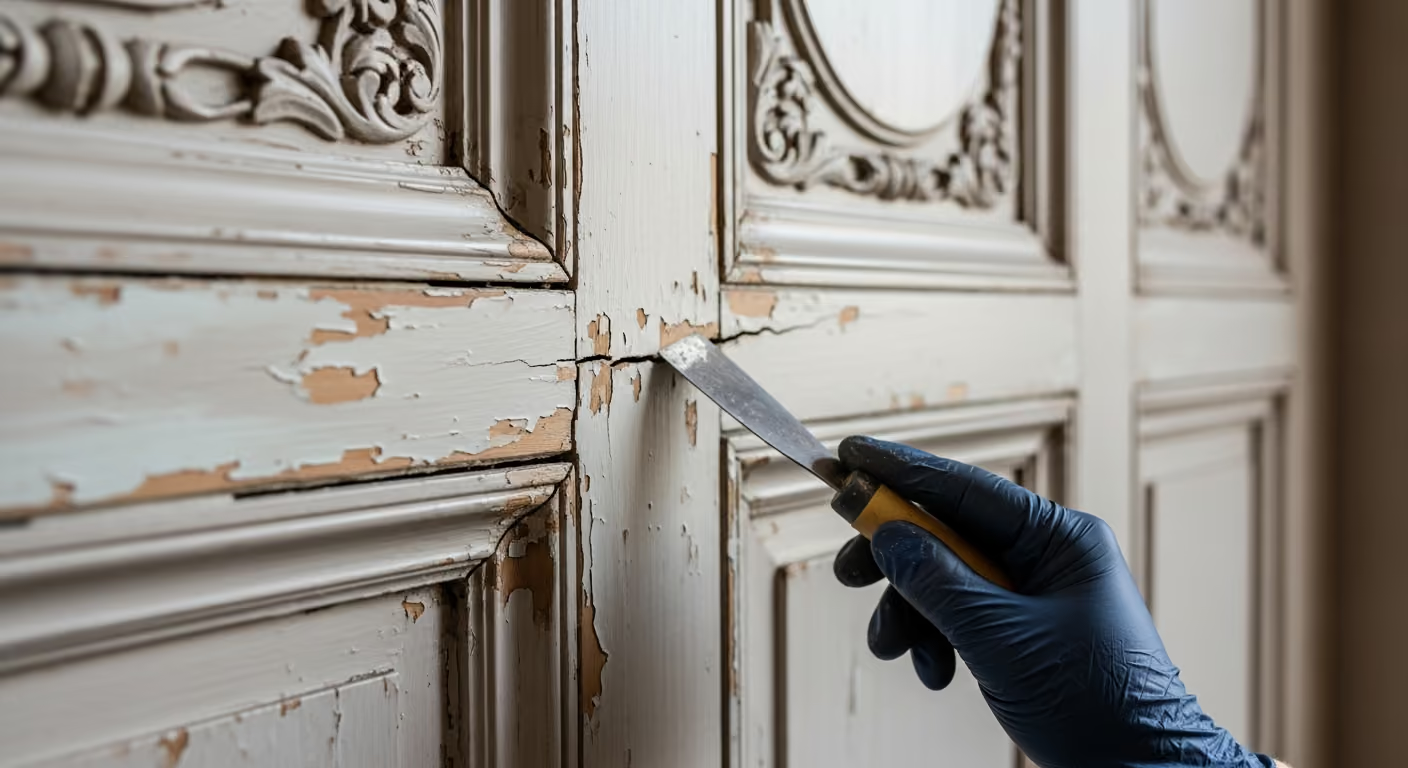
Panelling is often touched more than a normal wall. Lower sections collect dust. Areas near doors and switches can hold oils from hands. Dining rooms may have light grease or residue. Hallways can collect dirt from coats, bags, and daily movement.
If these surfaces are not cleaned properly, the new paint may not bond evenly. It can also dry differently in contaminated areas.
Cleaning should focus on:
The surface should be clean, dry, and free from residue before sanding and priming begin.
Sanding panelled walls requires control. The aim is to remove roughness, reduce old brush texture, and create a sound key for the new finish. It is not to flatten the mouldings or remove the character of the joinery.
Good sanding should:
Decorative details usually need more careful hand preparation than large flat sections. Heavy sanding in the wrong place can soften the lines and make the panelling look less refined.
Small cracks are common in older Westminster interiors. Buildings move slightly over time, and timber or MDF panelling can respond to changes in temperature and humidity. Some joints can be repaired neatly, but the cause of the movement should still be considered.
Preparation may include:
Not every line should automatically be filled. Some panelling is designed with visible joints. The repair should respect the original detail rather than trying to make every section look like one flat wall.
Primer helps the new finish bond, controls uneven absorption, and prevents repaired areas from showing through. It is especially important when the panelling includes bare timber, MDF edges, old glossy paint, filler, or mixed materials.
A primer may be needed to:
Skipping primer can save time at the beginning, but it can lead to an uneven result or early paint failure. The right base system is part of the finished quality.
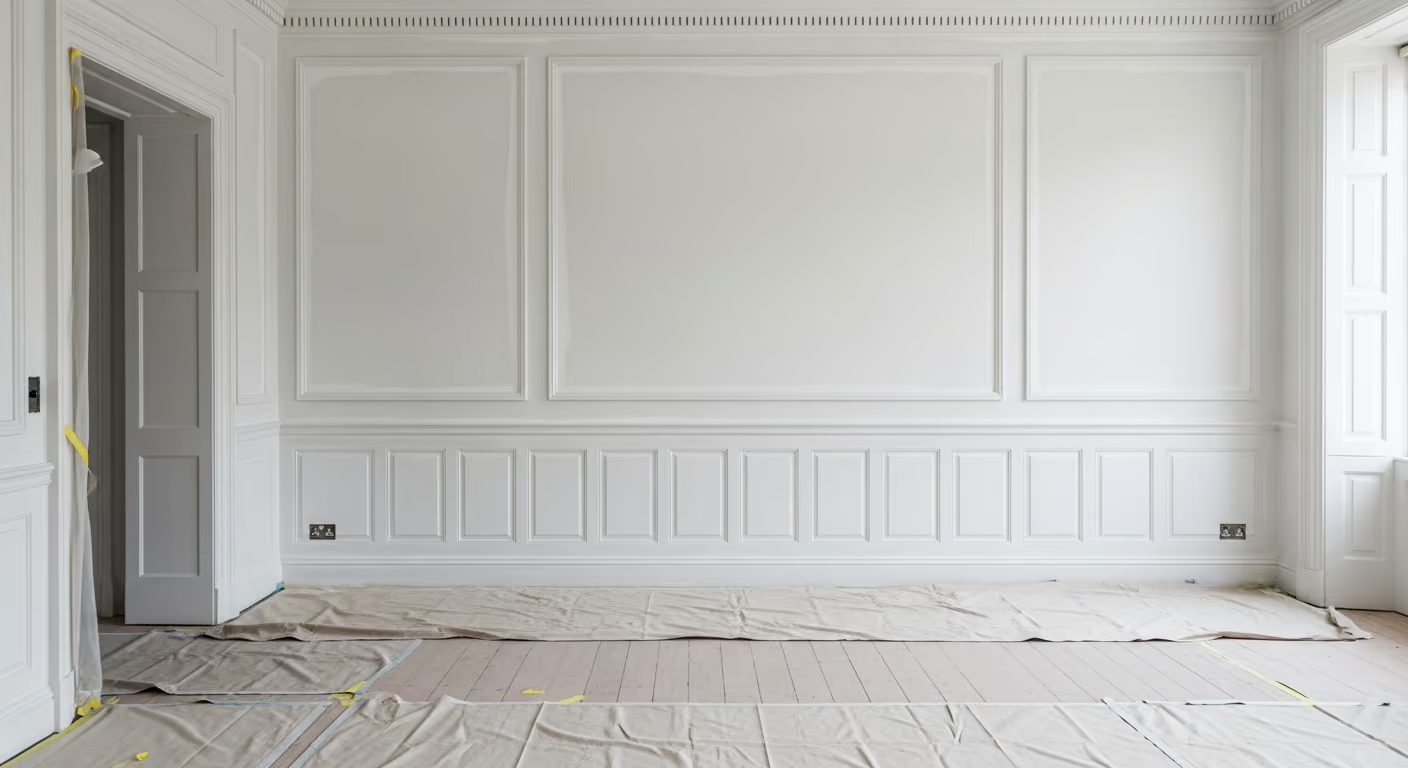
Colour behaves differently on panelling than it does on a flat wall. The same shade creates lighter and darker areas because the mouldings, recesses, and raised sections catch light in different ways. This can make the colour feel richer and more complex.
Strong colour directions often include:
Large samples are essential. A colour that looks gentle on one flat sample can feel much stronger once it covers a full panelled wall. Test it across both raised and recessed sections so you can see how the shade reacts to the architecture.
In rooms with half height panelling, the upper wall can match the lower section or use a different finish. Both approaches can work well.
Matching the upper wall and panelling can:
Using a contrast can:
If the upper wall uses wallpaper, the panel colour should support the paper rather than compete with it. If the upper section uses Bauwerk limewash, the crisp painted panelling can create a beautiful contrast with the softer mineral surface.
Sheen changes how panelling looks and how practical it feels. A higher sheen reflects more light and can make mouldings look sharper, but it also shows preparation flaws. A lower sheen feels softer and more contemporary, but it still needs to be practical enough for the room.
Think about:
In a busy hallway, the finish may need more durability. In a formal reception room, the visual result may be the main priority. The sheen should suit both the architecture and the daily use of the space.
Both methods can produce a good result when the preparation and application are controlled. The right method depends on the type of panelling, the room, and the desired finish.
Brush painting may suit:
Spraying may suit:
The method should be chosen after inspecting the panel design. Highly detailed period work does not always benefit from the same approach as simple contemporary wall panelling.
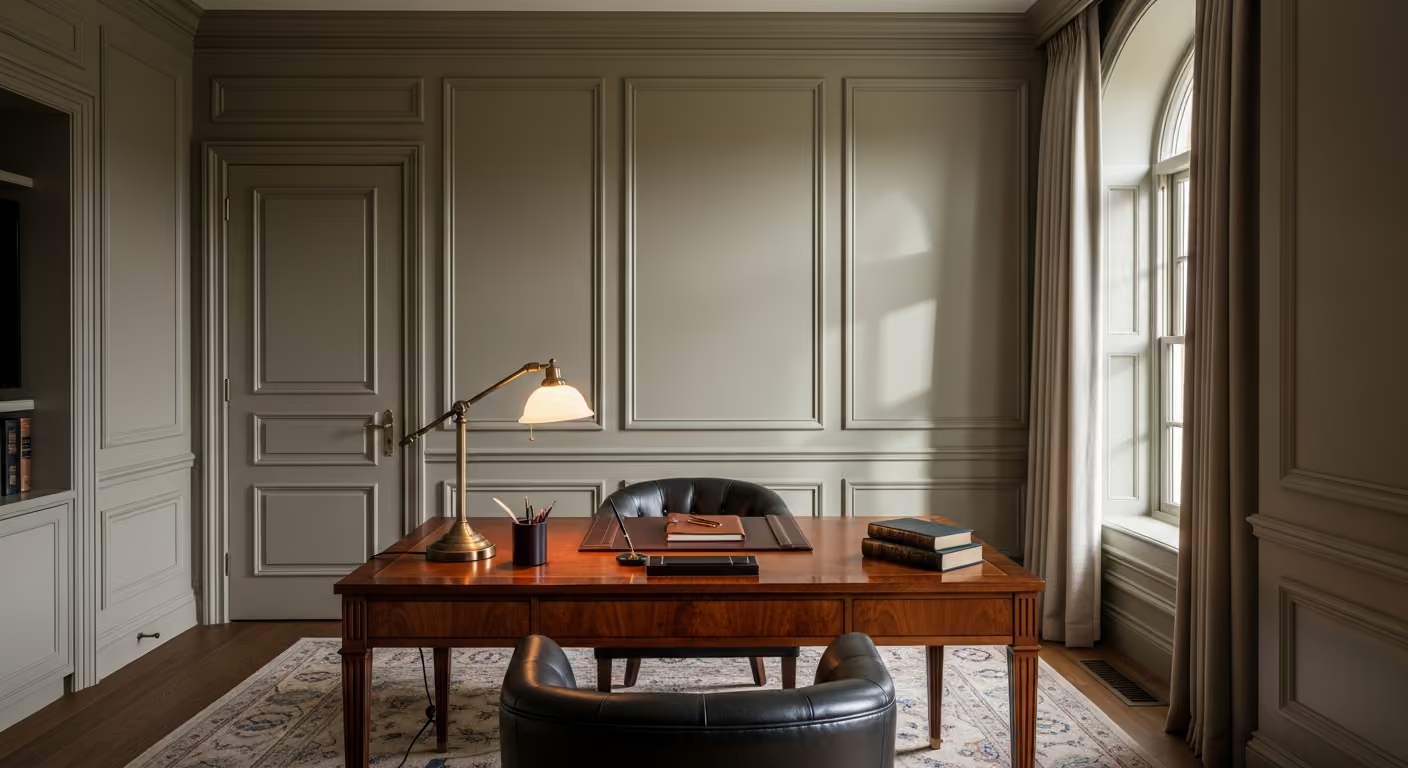
Panelled walls often meet several other painted elements. Doors, frames, skirting, window shutters, and built in joinery may all sit within the same view. If these are finished in unrelated colours or sheen levels, the room can feel fragmented.
A joined up plan should decide:
Using one colour across panelling, doors, and trim can make a room feel calm and architectural. Using contrast can work too, but it should feel intentional.
Panelling creates natural shadows. Daylight from sash windows may highlight one side of each moulding, while evening lamps can deepen the recesses. This means colour and finish should be tested in both conditions.
Check samples under:
A darker colour may look rich under evening light but heavy during the day. A pale colour may look elegant in daylight but flat under cool artificial lighting. The final choice should work during the hours the room is used most.
Panelled hallways are beautiful, but they also work hard. Lower sections may be touched by bags, coats, furniture, and daily movement. Corners and stair walls can take repeated knocks.
For hallway panelling, consider:
The panelling can still look refined, but the specification should match the level of use. Beauty and practicality should not be separated.
Dining rooms and studies can usually support softer or deeper colours because they have lower wall contact than hallways. These rooms are also often used in the evening, when panelling can look especially atmospheric.
In a dining room, darker stone, olive grey, taupe, or blue grey can work well with warm lamps, timber furniture, and art. In a study, the panelling can create a library feel without needing heavy pattern.
Full height colour can make the room feel wrapped and settled. Half height panelling can be paired with wallpaper, a soft painted wall, or limewash above.
Most disappointing results come from treating panelling like a normal wall. It needs a more detailed preparation and application plan.
Can old painted panelling be repainted? Yes, provided the existing coating is stable and the surface is cleaned, sanded, repaired, and primed correctly.
Should panelled walls be darker than the walls above? They can be, but they do not have to be. Matching colours create calm and height. Contrast makes the panelling more visible and architectural.
Can panelling be sprayed? Yes, especially where the design includes large flat sections and a very smooth finish is wanted. Detailed period mouldings may still suit careful brush application.
Does panelling need a different paint from plaster walls? Often yes. The surface material, level of contact, and desired sheen all influence the correct system.
We carry out interior painting and decorating across Prime Central London, including Westminster, Chelsea, Kensington, Belgravia, Notting Hill, and Knightsbridge. Many of these projects involve panelled walls, period woodwork, doors, shutters, reception rooms, studies, dining rooms, and hallways where careful preparation makes a visible difference.
Planning to repaint panelled walls in your Westminster home? Send a few photos of the room, including close ups of joints, mouldings, chips, existing sheen, and the surrounding doors and trim. We can help assess the preparation needed, advise on colour and finish, and plan a result that respects the architecture while making the room feel calm and refined. To begin, request a site visit and we will arrange a time that suits you.
Tell us a few details about your project and our team will review the enquiry and come back to you within one working day.