Repainting a Kensington ceiling sounds simple until old cracks and water marks come back through the new finish. This guide explains what actually needs fixing before paint goes on, how to stop stains and ghost lines returning, and how to get a ceiling that looks calm in daylight and evening light.
Short answer: If a Kensington ceiling has old cracks or water marks, the answer is not just another coat of white paint. The ceiling needs the cause checked first, then the surface repaired properly, stain blocked where needed, and finished in the right sequence so cracks and marks do not return as ghost lines. A clean ceiling comes from repair work and preparation, not from paint alone. For help planning and carrying out that work, see our interior painting and decorating service.
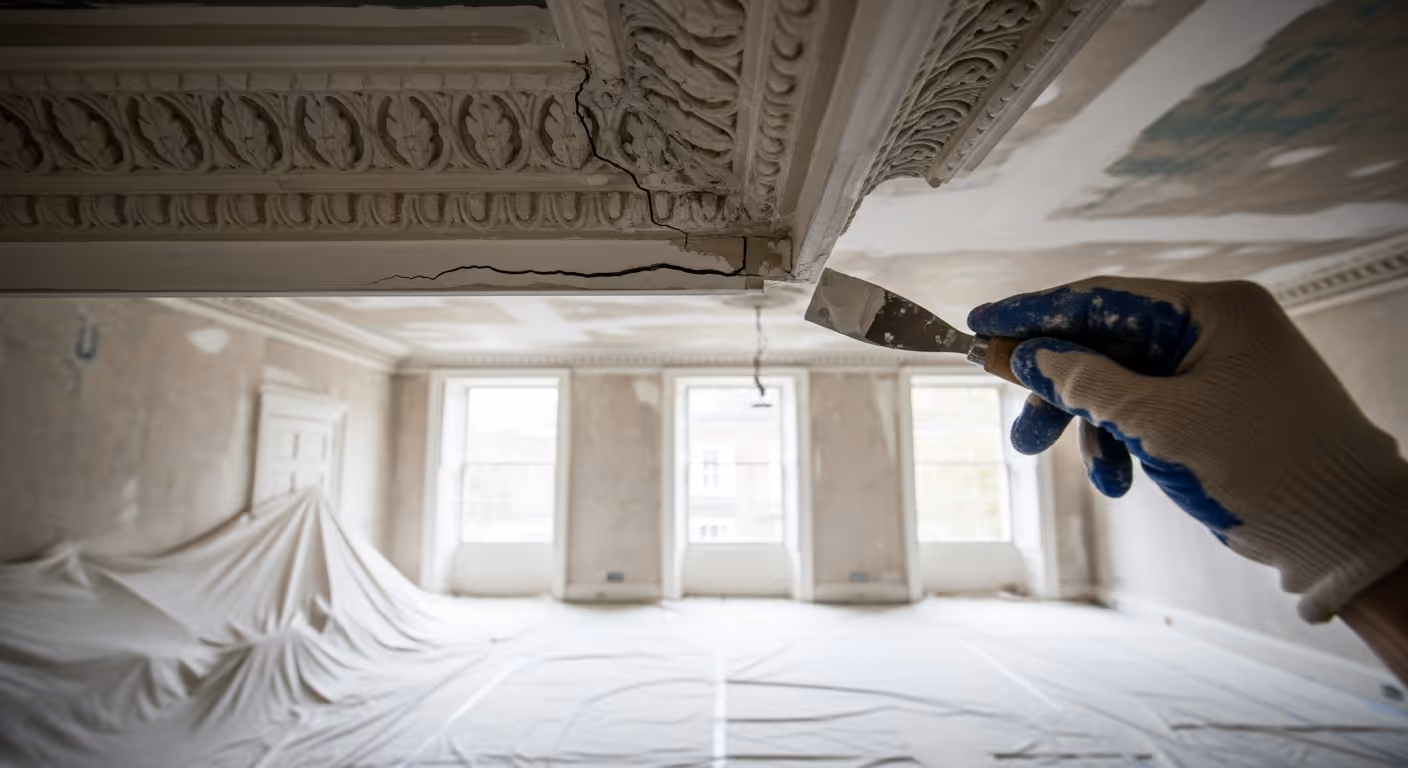
Ceilings are easy to ignore until they are not. In many Kensington homes, the walls may be freshly painted and the room may be beautifully furnished, yet the ceiling still tells an older story. Fine cracks show near the cornice. A pale brown water shadow appears again in certain light. A patch repair looks flat from one angle and obvious from another. Since ceilings catch both daylight and evening light, these issues can quietly lower the feel of the whole room.
This guide explains how to repaint a ceiling with old cracks and water marks properly. It covers what needs checking before any paint goes on, how different types of cracks should be treated, how to deal with stains without them returning, and how to sequence the work so the final result looks settled rather than newly covered.
Many ceiling failures come back because the paint was treated as the repair. In reality, paint is only the final visual layer. If the crack is still moving, or if the stain source was never fully dealt with, the fresh coat will not stop the issue. It only hides it for a short time.
Common reasons problems return:
This is why a ceiling that looked “done” for a few weeks can start looking tired again so quickly. The real problem was still underneath.
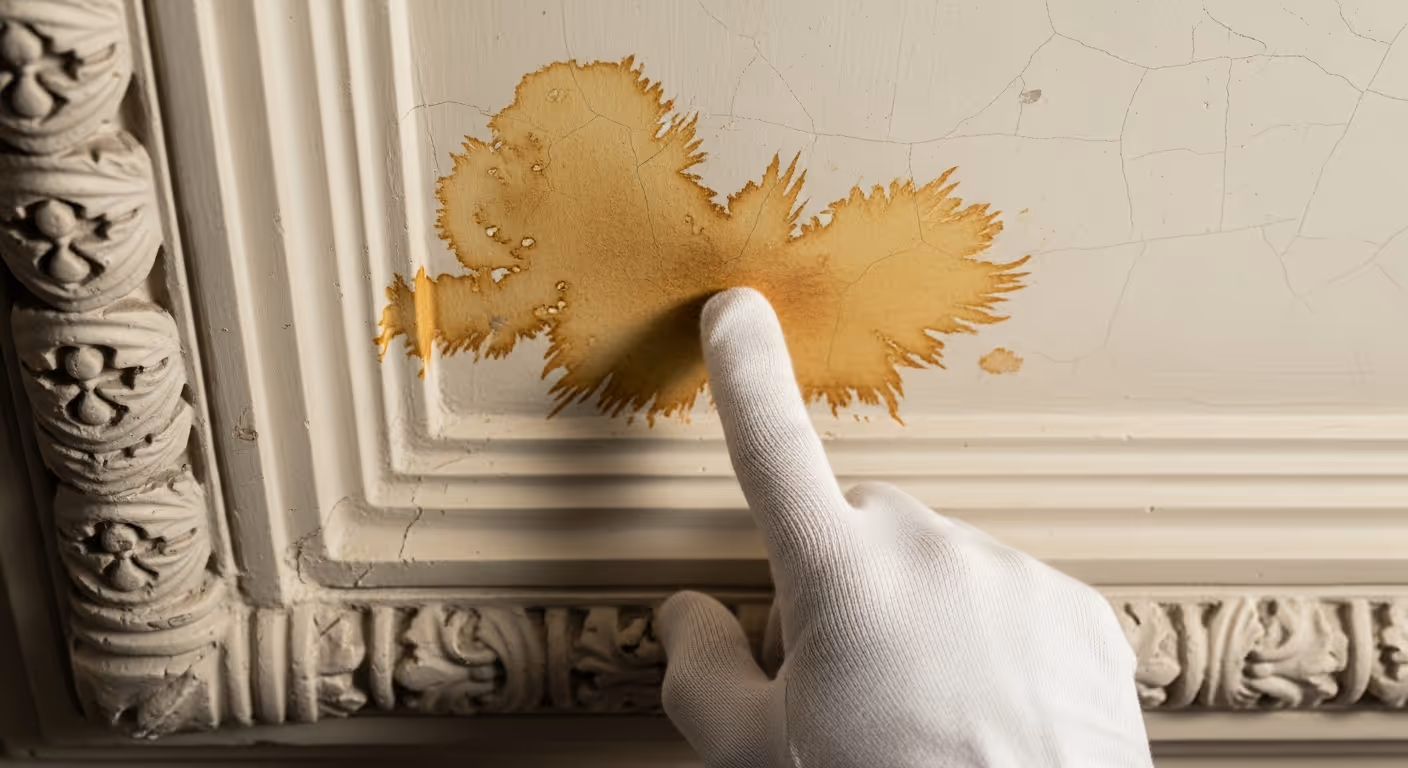
Before you plan any repaint, you need to know whether the water mark belongs to the past or whether it is still active. This is the most important early check.
Signs the problem may still be active:
If any of these sound familiar, the ceiling should not simply be repainted. The source needs fixing first. In period Kensington homes, that source may be roof leaks, bathroom seepage, radiator pipes, or old window details at the top floor. Once the cause is solved and the area is fully dry, the ceiling can then be repaired and repainted with confidence.
Not every crack means the same thing. Some are simple surface movement. Others suggest repeated stress or a failed earlier repair. Understanding the type helps you choose the right fix.
These are common in older plaster ceilings. They may appear along old joins, around cornices, or across broad flat areas. Often they are caused by age, seasonal movement, or slight settlement.
These often appear where different materials meet or where slight building movement shows first. They need careful treatment so the repair stays crisp and does not reopen as a shadow line.
If a crack has been filled before and keeps returning, the earlier repair may have been too shallow or too brittle, or the area may need a more stable repair method. These need more than a quick skim of filler.
If cracking and staining appear together, the surface may have been weakened by moisture. In that case the ceiling needs both repair and stain management, not only one or the other.
The right repair depends on which of these you are dealing with, and whether the surrounding plaster is still sound.
The goal of a good repair is not to hide the line for one coat. It is to create a stable surface that behaves as one ceiling again.
A careful crack repair usually includes:
In some cases, especially on old lath and plaster ceilings, the repair may need more than simple filling. That decision depends on the condition of the substrate. The key point is that a visible line is not fixed by loading more paint onto it.
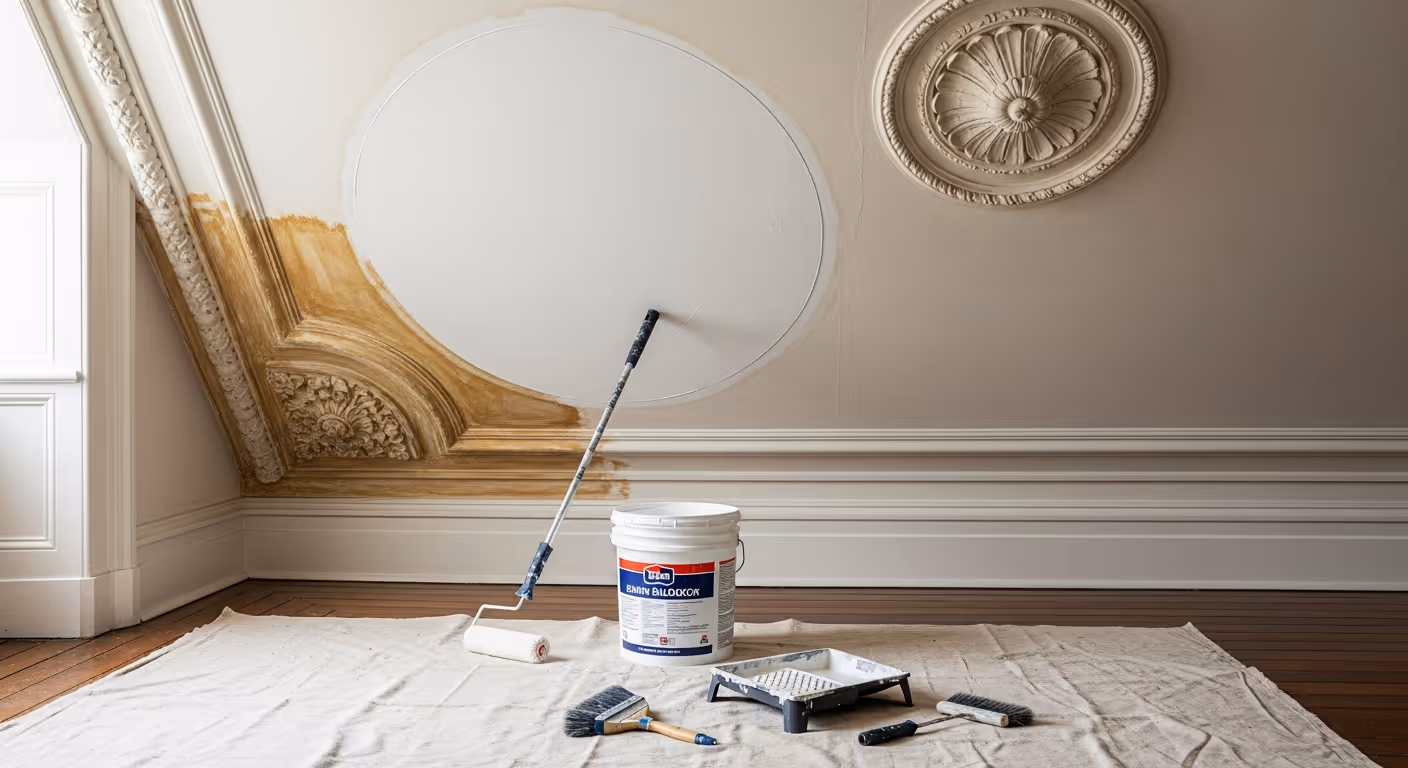
A water mark can be dry and still come through new paint. That is because the stain left behind can bleed through standard coatings, especially white ceilings. This is one of the most frustrating parts of ceiling repainting, since the room can look perfect on day one and then show the mark again once the finish settles.
That is why the normal sequence is:
Skipping the stain blocking step is one of the main reasons old marks return through fresh white paint.
Owners sometimes ask whether a small ceiling issue can just be “touched in.” Sometimes yes, but ceilings are often less forgiving than walls. Light spreads across them differently, and even small differences in texture or sheen can show.
Patch painting often looks poor when:
In many Kensington reception rooms and bedrooms, once the repair is complete it is wiser to paint the full ceiling so the surface reads as one calm field. This usually gives a much cleaner result than trying to save one corner from repainting.
Kensington homes often have tall sash windows, strong side light, and evening wall lighting. All of this matters when repairing ceilings. A repair that looks flat at midday can show clearly in the evening when warm light skims the surface from one side.
This is why good ceiling preparation is checked in more than one lighting condition. It is also why sanding and flattening matter so much. The smoother and more even the repair plane, the less likely it is to show as a visible island once the finish coat is on.
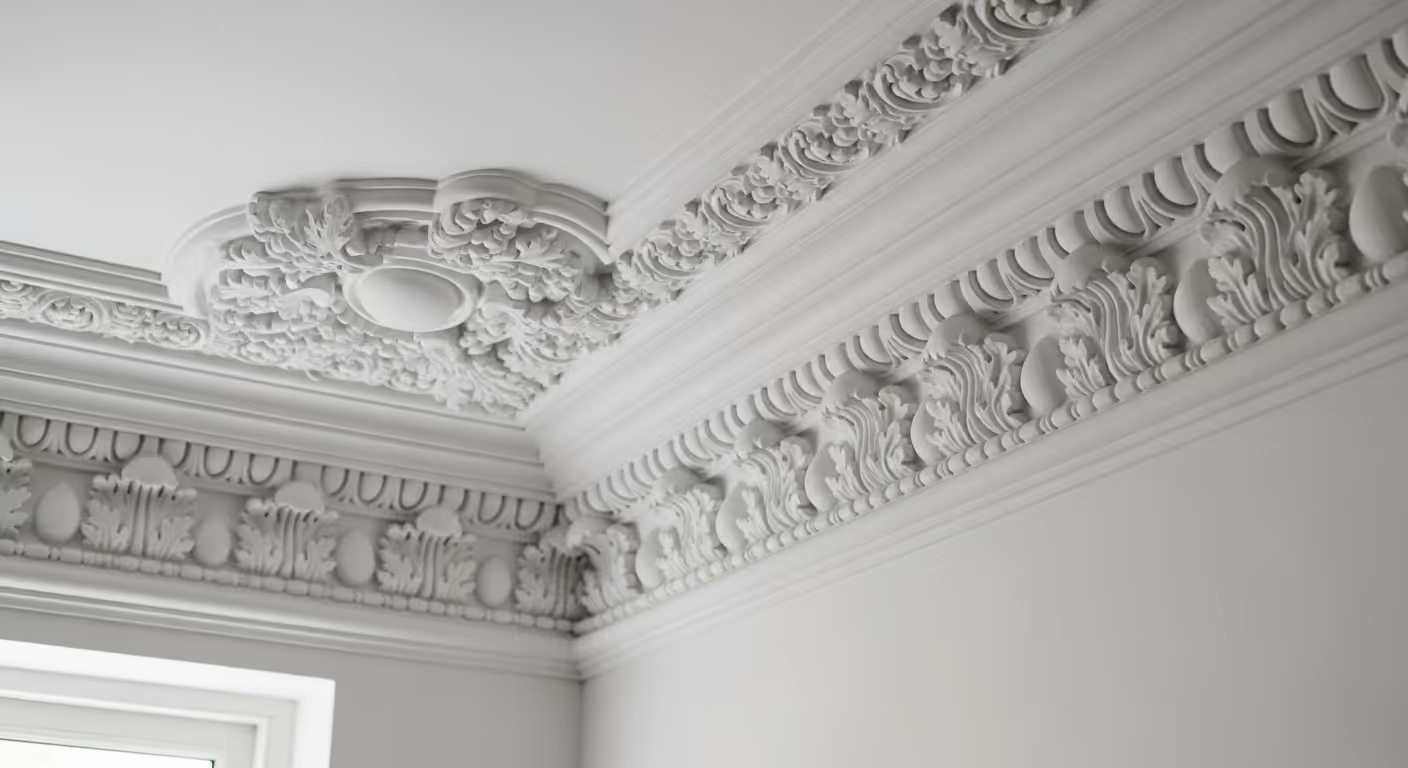
In period rooms, the ceiling does not end at the flat plane. It meets cornices, roses, and other plaster details. These edges shape how polished the room feels.
When repainting around cornices, good work usually means:
Heavy build around cornices is one of the easiest ways to make a period ceiling look less refined. Clean details matter just as much as clean paint.
Some ceilings are beyond simple cosmetic repair. That does not mean they need full replacement every time, but it does mean the approach must be wider than just decorating.
Warning signs include:
In those cases, the right next step is usually assessment and repair first, then decoration after the ceiling is stable. Painting before that point only delays the real fix.
Once repairs are done, many owners assume the ceiling should be the brightest white available. In period rooms that is not always the best choice. A very sharp white can draw attention to every slight surface change and feel harsh against older plaster details.
Ceilings in Kensington homes often look better in:
If the room below is part of a wider repaint, it helps to choose ceiling whites in relation to the walls and trim, not as separate decisions. That is one of the simplest ways to make the whole room feel more expensive.
If the room is occupied, ceiling work can still be done cleanly, but the order matters. A tidy sequence usually looks like this:
This order helps avoid drips onto finished walls and reduces the risk of stopping halfway through a repair that should really be completed in one clean sequence.
Most of these mistakes come from trying to save time. In practice, they usually create more work later.
Can an old water mark disappear completely? Yes, often it can, but only if the source is fixed, the area is dry, and the stain is blocked correctly before final painting.
Will ceiling cracks always come back? Not always. Fine movement can return in older buildings over time, but a proper repair lasts far better than simply painting over the line.
Do I need to repaint the whole ceiling? In many visible rooms, yes. It usually gives a far cleaner result than touching in one repaired area.
Should the ceiling be brilliant white afterwards? Not necessarily. Softer whites often sit more elegantly in period interiors and can make repairs less visually harsh.
We carry out interior painting and decorating across Prime Central London, including Kensington, Chelsea, Belgravia, Notting Hill, Knightsbridge, and Westminster. Many of these projects involve period ceilings, old stains, plaster repairs, and room by room repaint planning where the finish has to look calm in strong London light.
Need help with a cracked or stained ceiling in your Kensington home? Send a few photos of the room, including close ups of the cracks, stains, and cornice areas. We can help judge whether the issue is cosmetic or still active, and plan the right repair and repaint sequence so the ceiling looks clean for longer. To begin, request a site visit and we will arrange a time that suits you.
Tell us a few details about your project and our team will review the enquiry and come back to you within one working day.