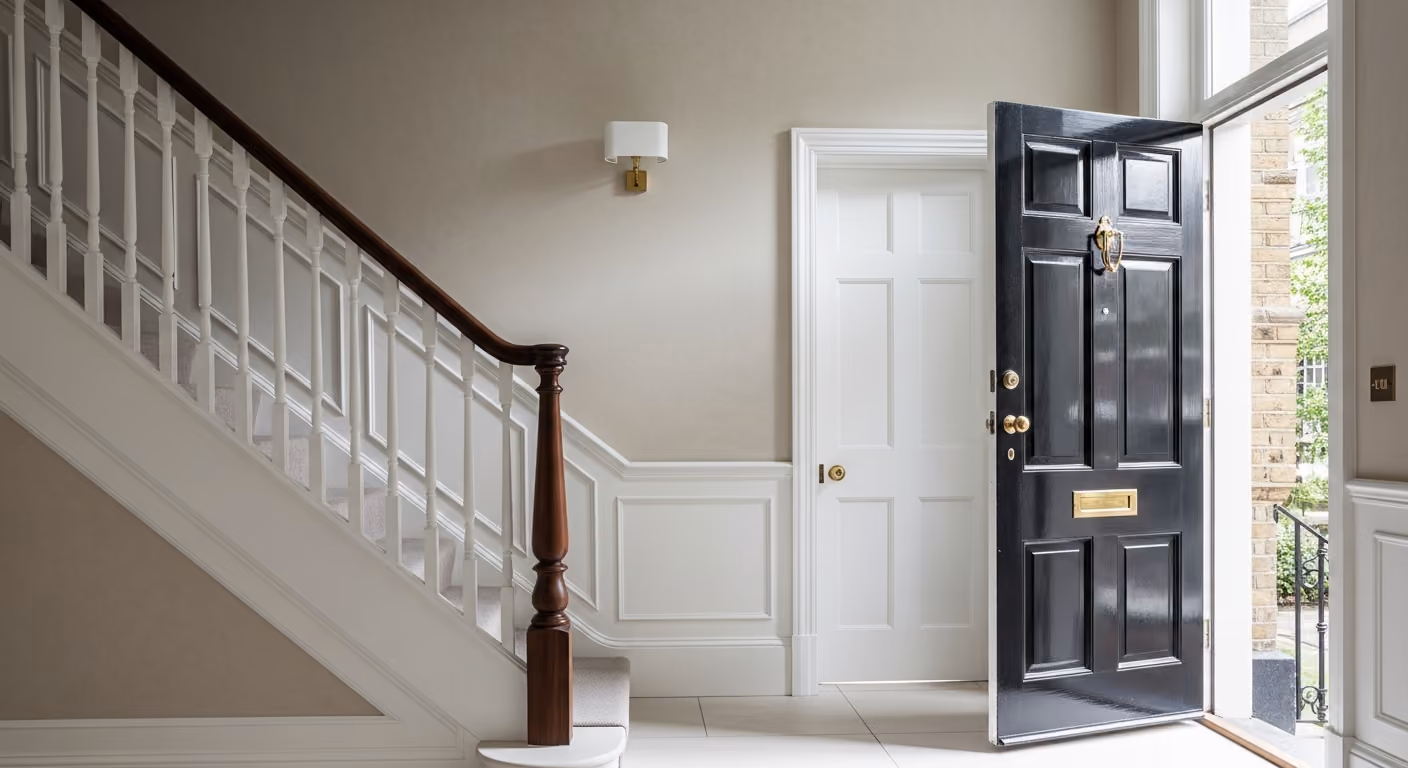
.avif)
You can use limewash in kitchens and bathrooms with the right plan. This guide shows where it works, how to protect splash zones, and how to keep the look calm and clean.
Short answer: Limewash can look beautiful in kitchens and bathrooms when you place it away from direct splash and give it the right base. Keep pure limewash for dry zones, use a tougher system near sinks and showers, and plan good airflow. For a full overview of the finish, visit our Bauwerk limewash page.
Limewash brings a soft, natural depth that suits London homes. It makes plaster feel alive and settles rooms with gentle movement in the surface. Kitchens and bathrooms ask more from any wall finish, so a good plan is the key. This guide explains where limewash shines, where you should switch to a tougher product, how to design clean transitions, and how to look after the finish so it stays calm for years.
Place pure limewash on walls that do not see daily wiping. For the main cook run, the sink splash zone, and the area behind the bin, use a scrub tough paint or a solid backsplash. If you want a very close match between zones, we tint both systems from the same colour family. See our interior painting and decorating page for durable wall options that pair well with limewash.
Do not use pure limewash inside a shower enclosure or right next to a bath lip. These zones need a water resistant system. We make the join neat so the room reads as one space without a hard visual break.
Mixed systems look best when the join is designed with intention. Here are three tidy ways to move from a durable paint or tile to limewash without a messy line.
Limewash wants a mineral friendly base. Old paint layers that are thick and glossy can block the bond. We prepare the surface, prime with a compatible mineral primer if needed, and test a small sample area. In kitchens and bathrooms the base must be dry and sound. Hidden damp will mark the finish later. We always find and fix the cause before we paint. Once the base is stable, limewash can settle and carbonate in a steady way.
Good airflow matters more than anything in wet adjacent rooms. Use an extractor fan that runs on after you switch it off, open windows when safe, and keep the room aired after showers. This helps every system, not just limewash. If a room traps steam, even the toughest paint will struggle near seams and details. A calm, dry room is the goal for long life and clean lines.
Small rooms and strong light can make colours shift more than you expect. Pale warm neutrals feel calm in north light and suit brass and stone. Cooler neutrals feel clean around chrome and white sanitaryware. If your kitchen or bathroom has strong task lighting, view samples under those lights as well as in daylight. Limewash shows soft movement, so pick a tone that stays gentle across the day. Test panels are your friend. We can place two or three options and let you live with them for a day before you decide.
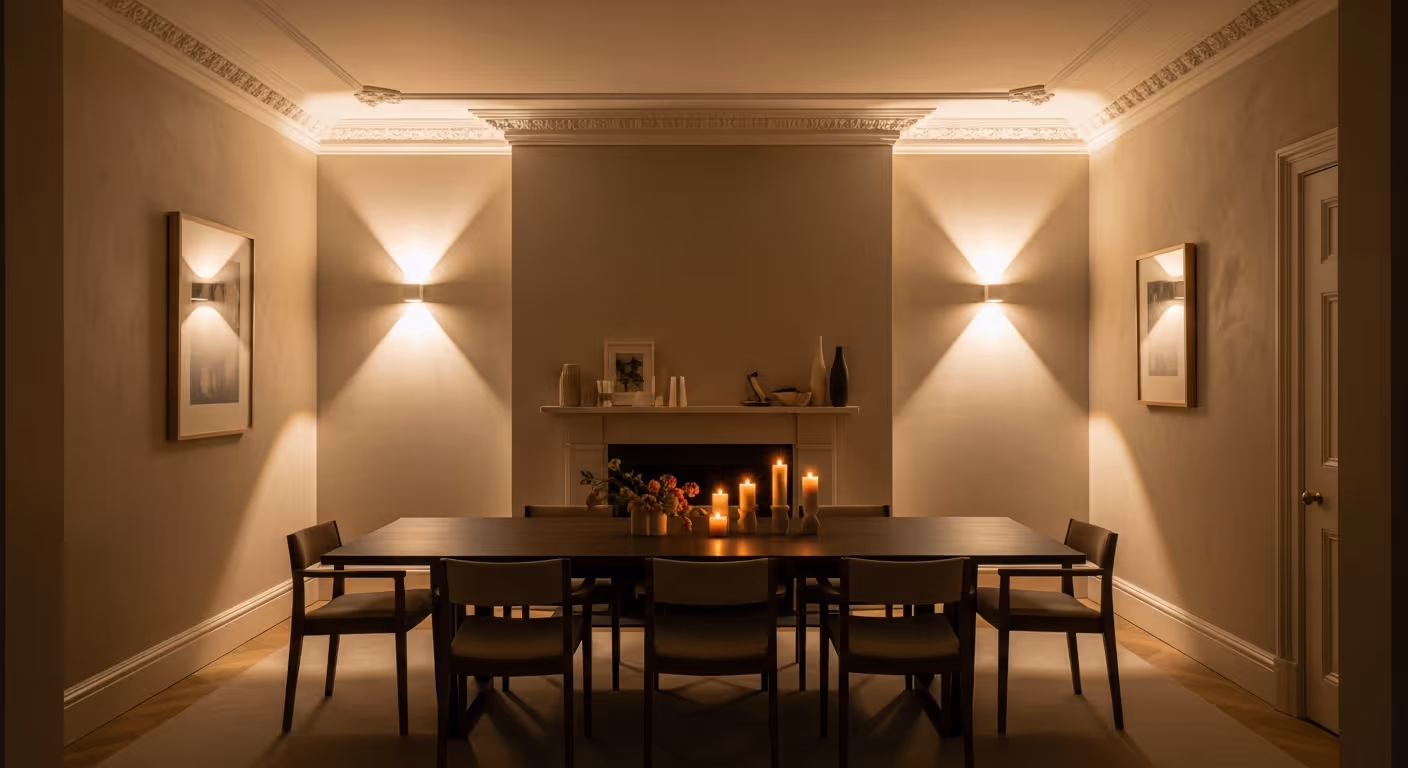
.avif)
Pure limewash is not a scrub surface. In dry zones, dust with a soft cloth. If a small mark appears, wait for the finish to settle and try a gentle wipe with a barely damp cloth. Do not rub hard. In busy family kitchens and children bathrooms, plan tougher finishes within the splash zones so your daily wipe downs happen on the right surfaces. This approach keeps the limewash looking fresh without stress.
Limewash hardens over time as it carbonates. That means it gets stronger in the first weeks. It will never act like a hard acrylic film, which is part of its charm and part of its limit. In quiet areas it stays beautiful for years with very little care. In high touch parts of a kitchen or bathroom it is better to place it out of reach and out of regular splash. When the layout respects these facts, you get the look you want and an easy routine for cleaning.
Here is a simple layout that works well in Prime Central London homes. The main cook run and sink wall use a durable paint to a set height, then a stone splash panel to the base of wall cabinets. Limewash covers the breakfast nook, a display wall, and the area around open shelves that do not see deep cleaning. The cabinet colour comes from the same family as the limewash to keep the space coherent. If you plan to refresh cabinets, our guide to resprays shows how to achieve a fine, smooth finish. For that work, read our post on cabinet resprays or visit interior painting and decorating for the full home view.
In a main bathroom we keep pure limewash on the dry wall opposite the shower and above the vanity upstand. Inside the shower and around the bath we use tile or a specialist wet area system. We set a clean transition so the eye does not stop at a harsh line. In a powder room we often limewash all walls and use a stone splash only behind the tap. The result feels warm and layered without daily care issues.
Every kitchen and bathroom gets a sample moment. We prepare small areas in your chosen tones and let them sit for a day. You see the effect in morning light, at lunch, and in the evening. If two tones feel close, choose the one that looks calm under your strongest light. That is the light that will show the wall at its busiest time, so it is the right test. When the tone is set, we write a simple scope and place the work in a sequence that keeps disruption low.
Limewash takes more planning than a standard repaint. Coats are thin and the hand finish shows, which is the whole point. Allow time for the base to cure, for test panels to be viewed, and for coats to settle. In a kitchen or bathroom we plan the work around other trades so that plumbers and stone teams do not mark the finish during late fit out. We cover and protect as needed until every task is complete. The final days include a slow walk and a snag list under both natural and task light.
.avif)
A cloakroom can be the perfect place to show limewash. Low steam, evening light, and closer viewing all suit the finish. Choose a rich neutral or a gentle clay tone and pair it with a neat upstand behind the tap. Add a warm lamp and a simple mirror. The wall will glow softly and the space will feel special without heavy materials. This is a simple way to bring character to a smaller home or a side bathroom in a larger townhouse.
Limewash looks best when it is part of a wider plan. If your reception rooms use limewash, bring a related tone into the kitchen seating area or the powder room. Keep trim in eggshell so the texture on walls can change without breaking the flow. Use one or two metal tones only, not three or four. Brass and aged bronze sit well with warm neutrals. Chrome sits well with cooler tones. Calm choices add up to a calm home.
Most marks in dry zones will wipe with a soft cloth once the finish has set. If a scuff sits on the surface, a gentle brush can help. For a larger patch, we feather a thin coat over a wider area rather than spot dabbing. This keeps the movement even. Keep hooks and sharp items away from edges. Fit small door stops where needed to protect corners. Little habits make a big difference to the life of any finish.
You can browse examples of our calm finishes in the Central London residence and Georgian London interior projects. If you want to plan a kitchen or bathroom with mixed finishes, we can visit, place test panels, and write a sequence that fits with other trades. To begin, request a site visit and we will set a time that works for you.
.avif)
We work across Prime Central London, with frequent projects in Kensington, Chelsea, Belgravia, Notting Hill, Knightsbridge, and Westminster. If your kitchen or bathroom needs a finish that feels natural and looks settled in your light, we can help with a simple, well planned scheme.

Tell us a few details about your project and our team will review the enquiry and come back to you within one working day.